Shaping the interior: Floors, Walls, Ceiling
We call it the shell — floors, walls, and ceiling. Think of it as the blank canvas for your van build. It’s what gives the space its foundation, comfort, and finished look.
Floor: We start with 3/4” marine grade plywood sourced from National Wood Products for our subfloor.
This van didn’t get an insulated floor - we scuff the high points of the corrugated sheet metal van floor and used Sikaflex-252 to stick the treated plywood to the van floor.
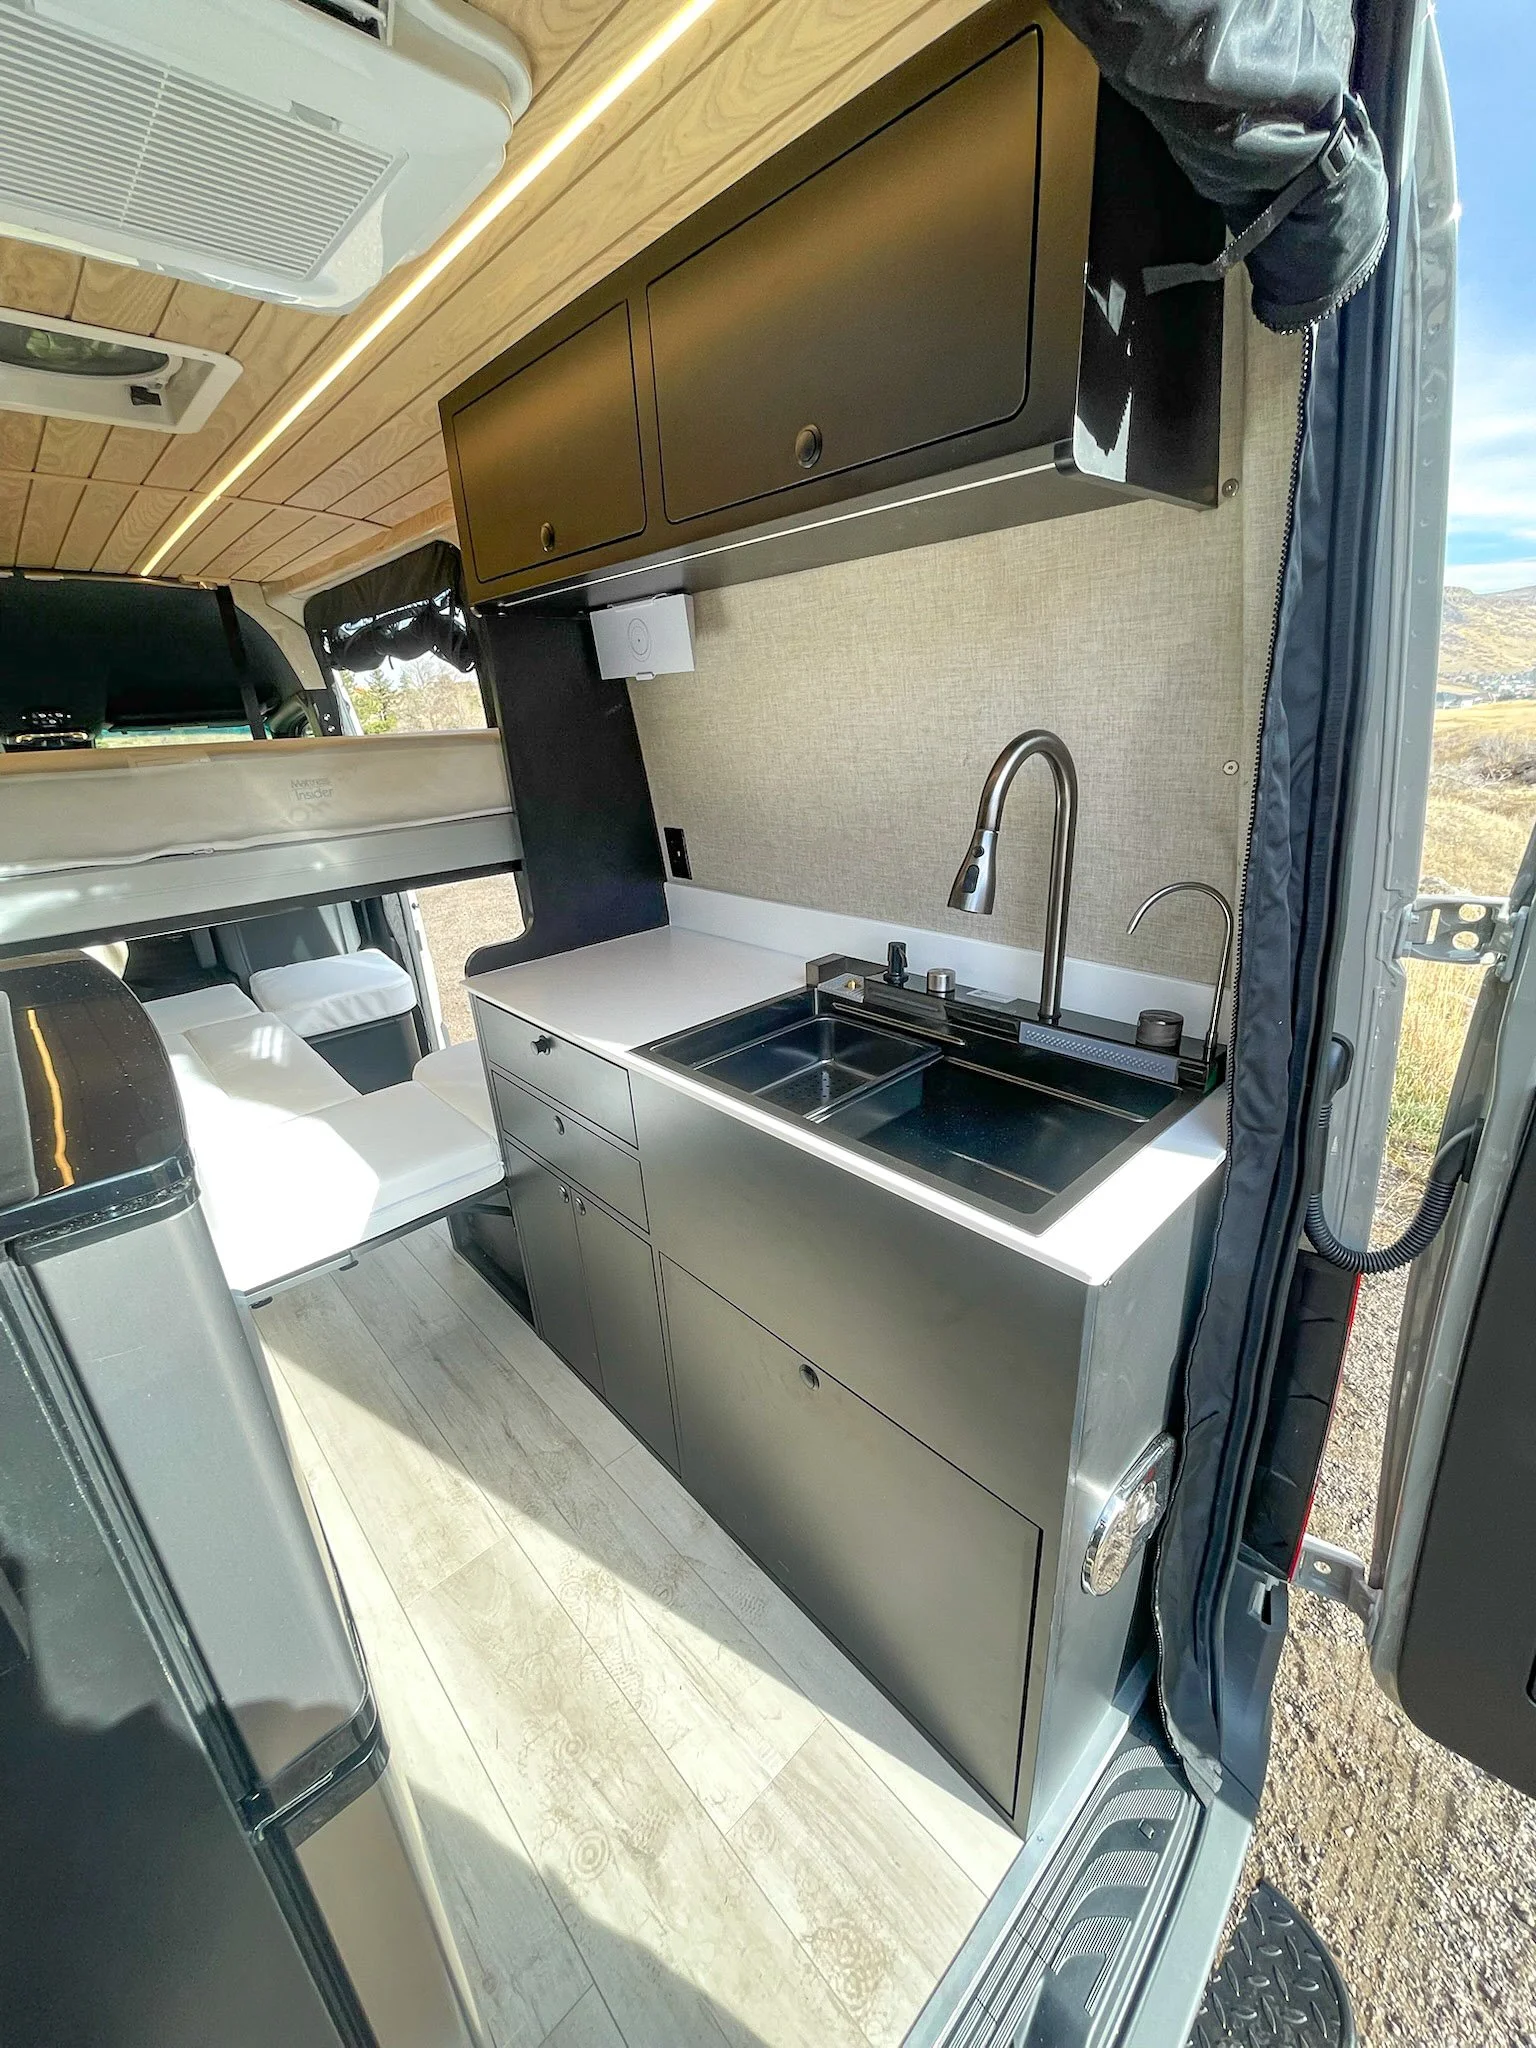
Like most of the vans we work on, these clients opted for a luxury vinyl plank flooring. We like the comfort, durability, and easy cleaning of waterproof LVP options. The style this client chose was NuCore Brookstone Ivory.
The final step for our standard flooring is trim. We use a 1” x 1/8” wall aluminum angle that we source from Alreco Aluminum to cover up the plywood and floor edges where they are exposed. We typically leave the aluminum raw which sands to a nice consistent finish and can be sanded again if it ever gets damaged.
Walls: First step on the walls is to pack everything with insulation.
This van got a precut DEI insulation kit. We use these in most of our vans unless the customer specifically requests wool. The kit comes with pieces specifically cut for each spot of the van wall which saves a ton of time and ensures a consistent fit with full coverage.
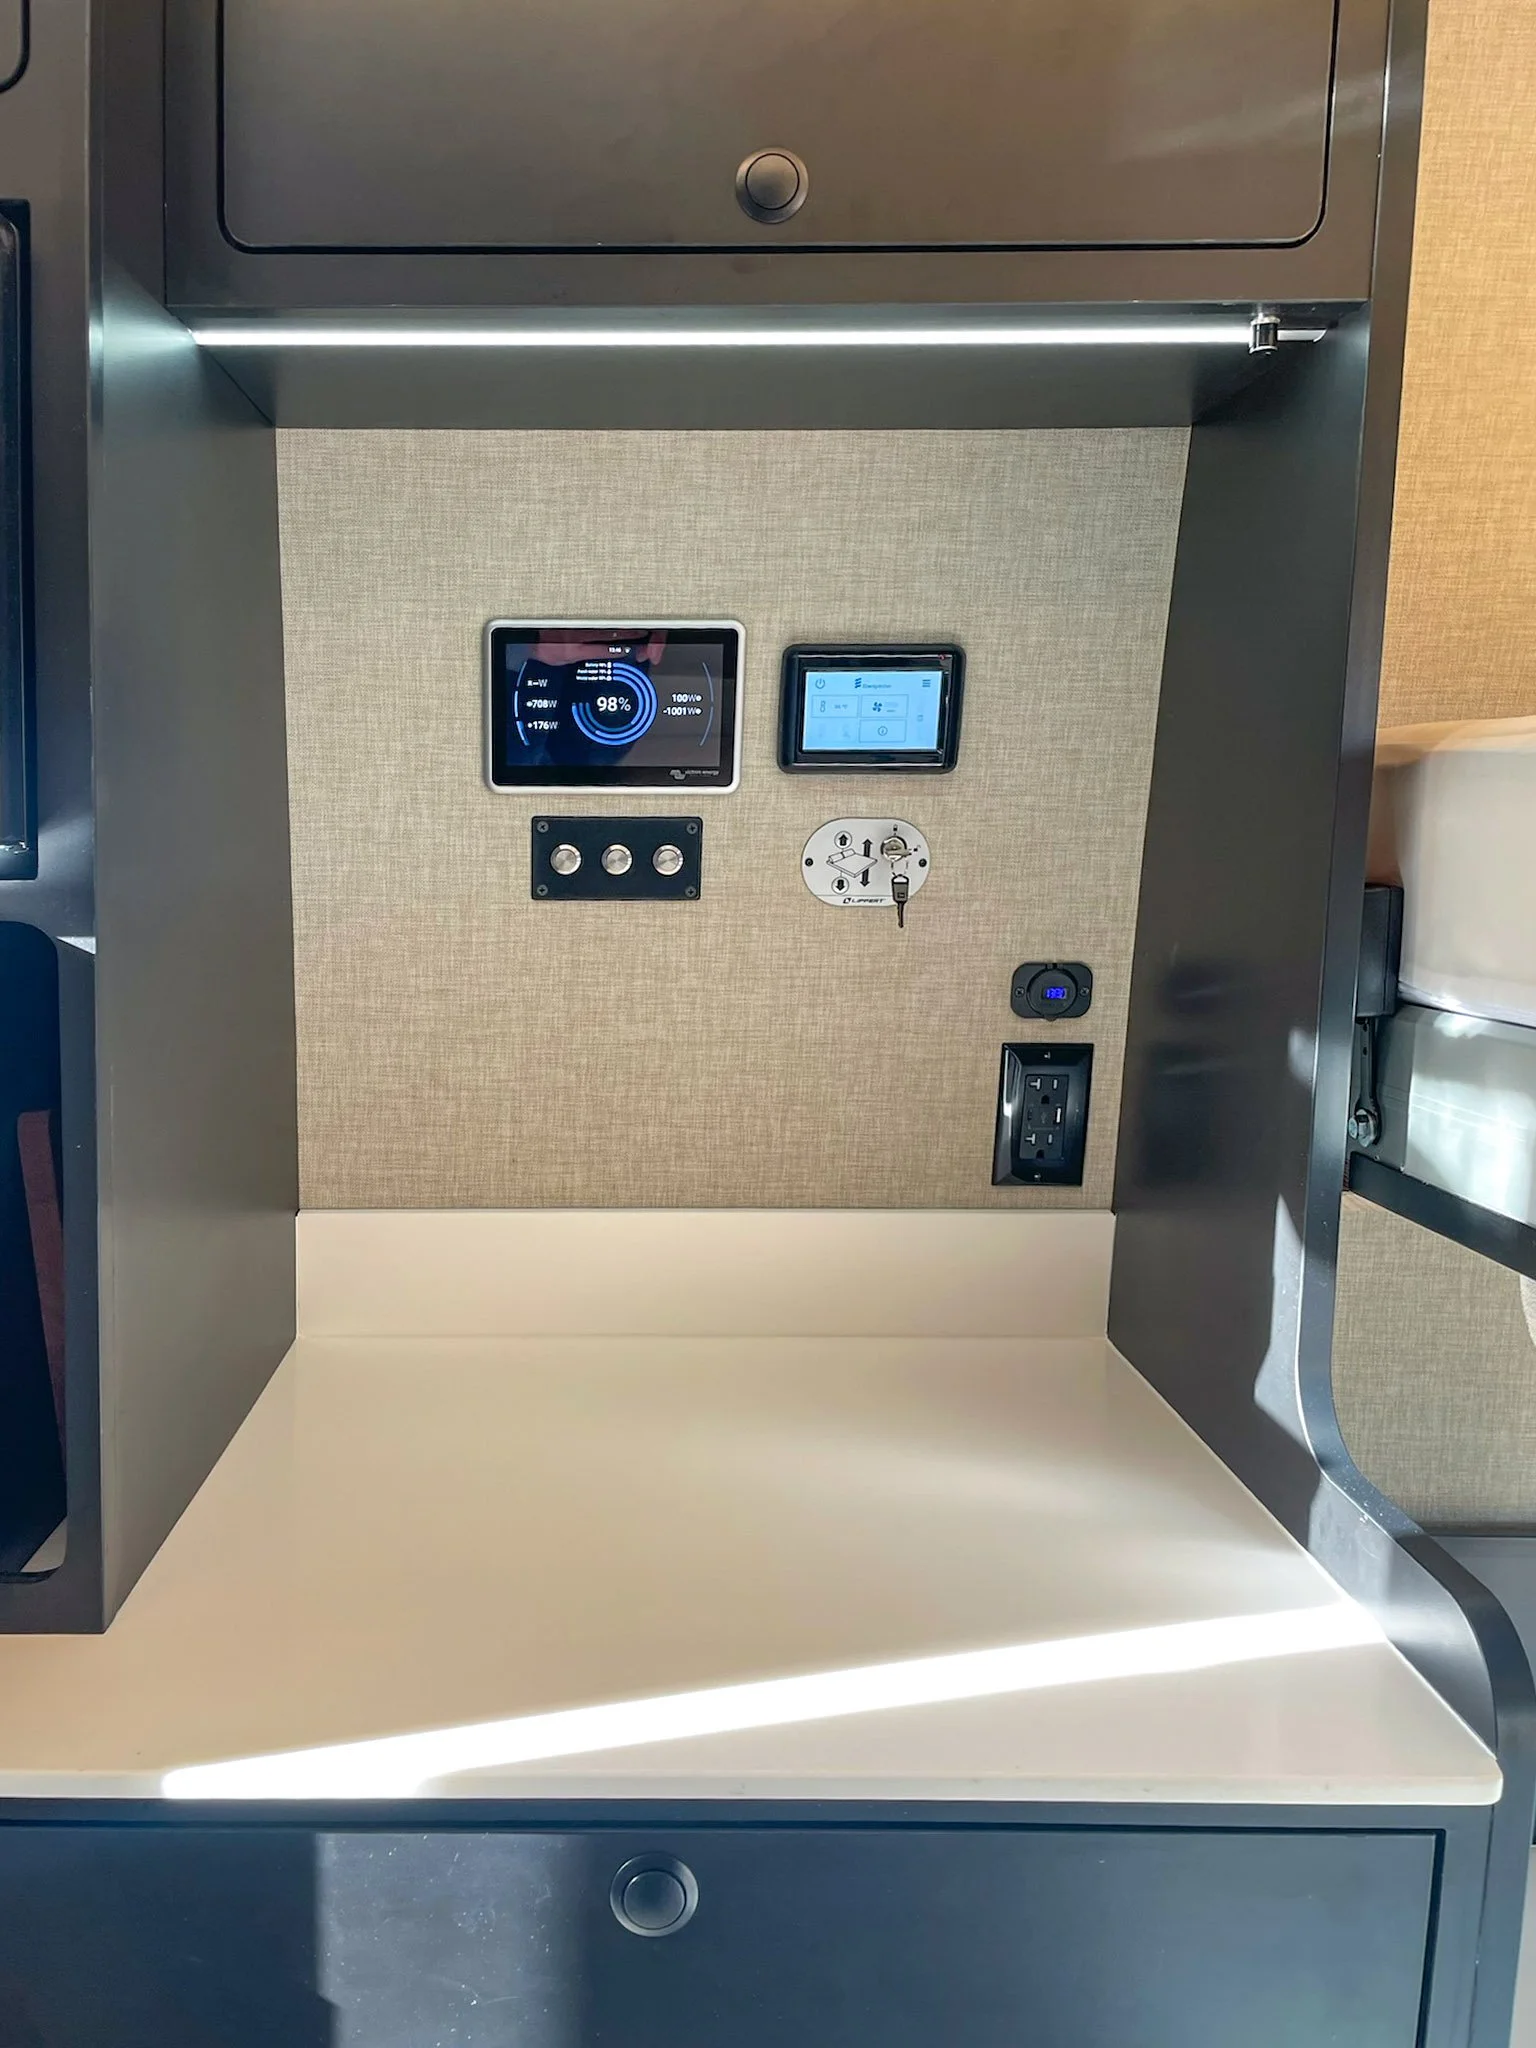
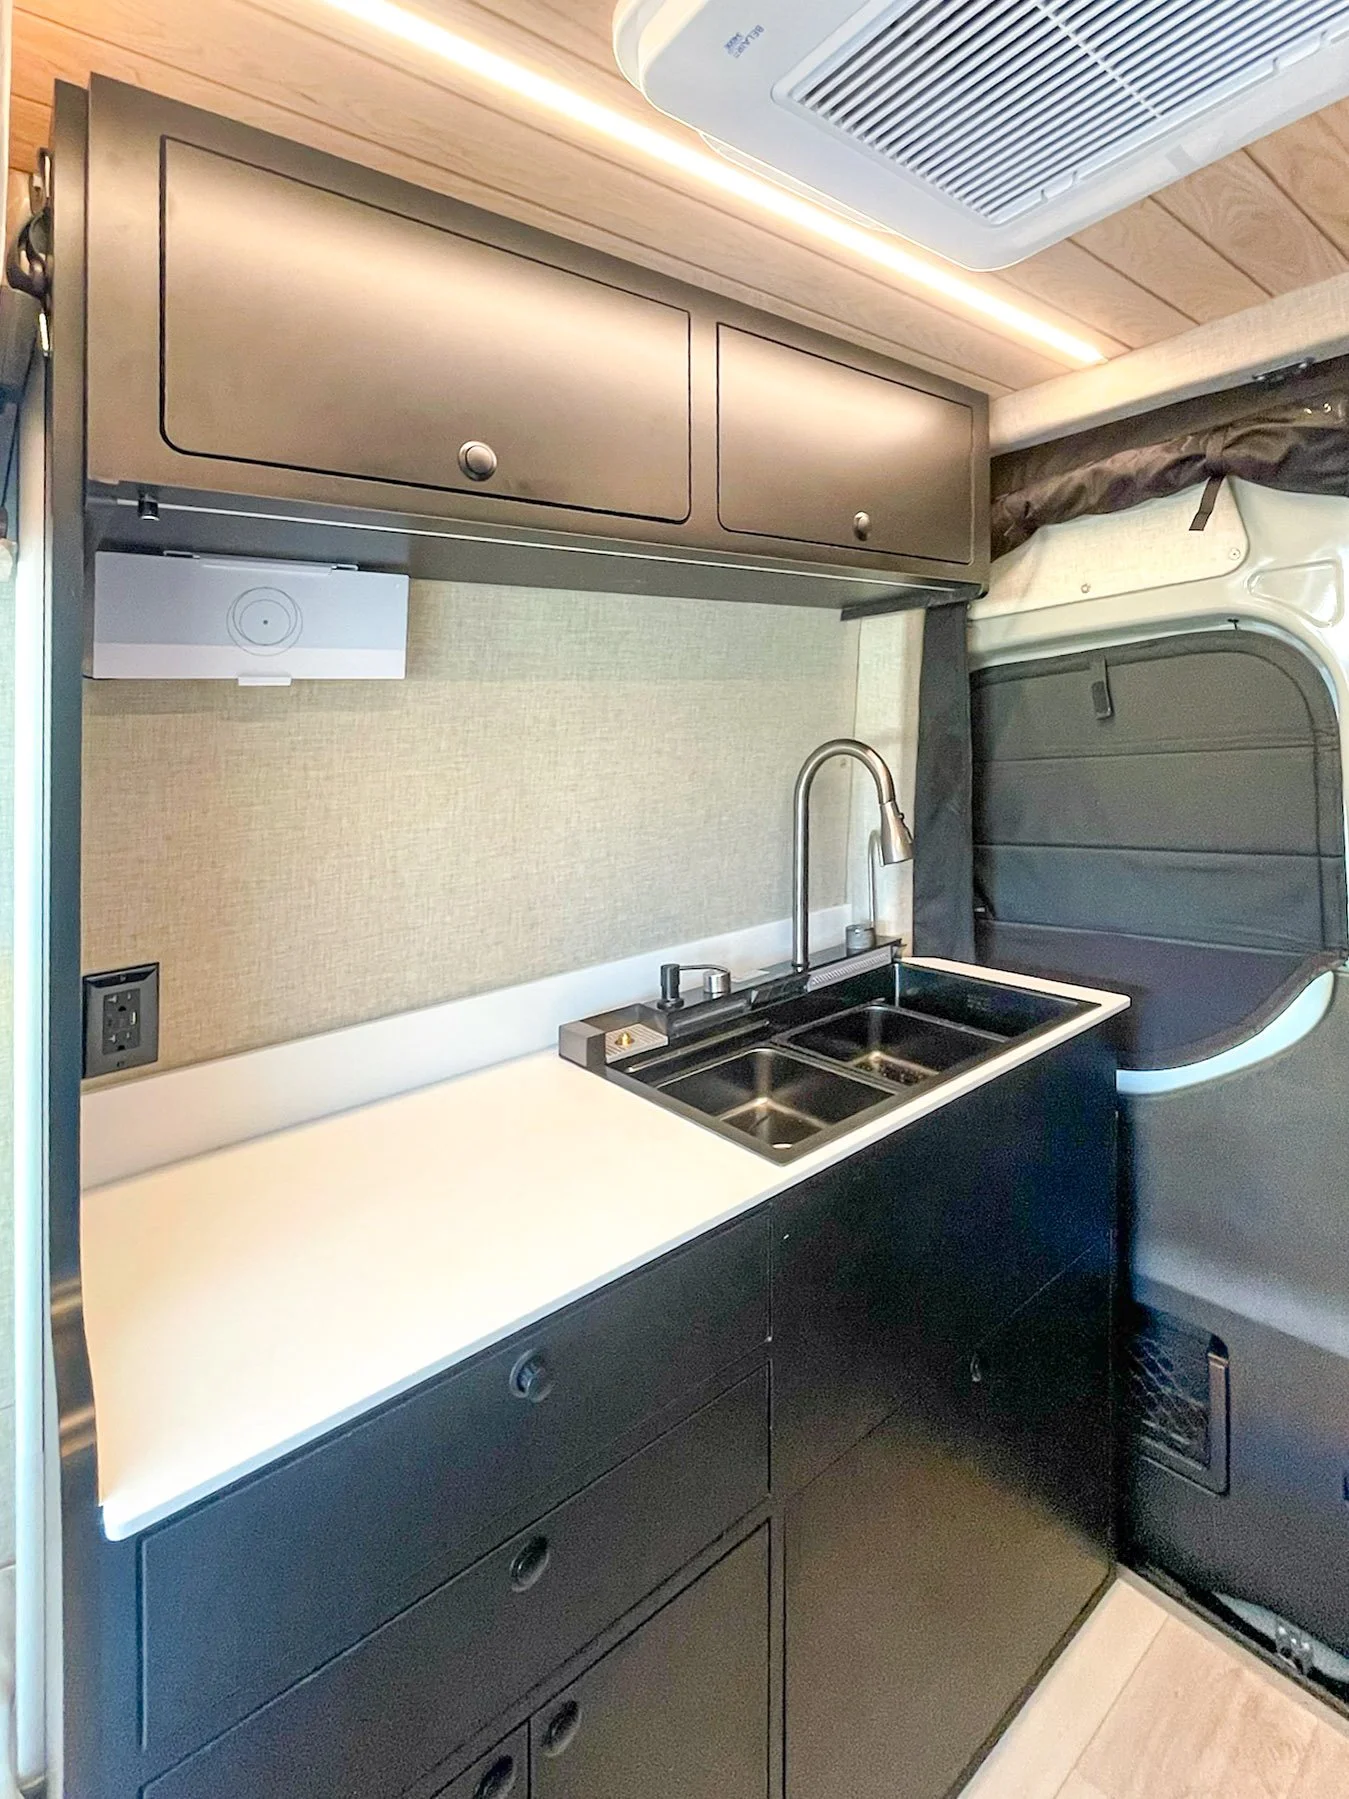
Our wall panels on this van were made of 1/4” plywood and we always upholster our wall panels with 1/8” closed cell foam and our finish fabric - in this van it was Nassimi Minetta Linen. The closed cell foam makes the panels feel warmer and more comfortable to the touch. We install our wall panels with 35mm panel bolts and 1/4-20 riv nuts.
We always wrap the metal thresholds in our vans so we used the same fabric for the slider and rear door openings to make the whole rig feel comfortable and finished.
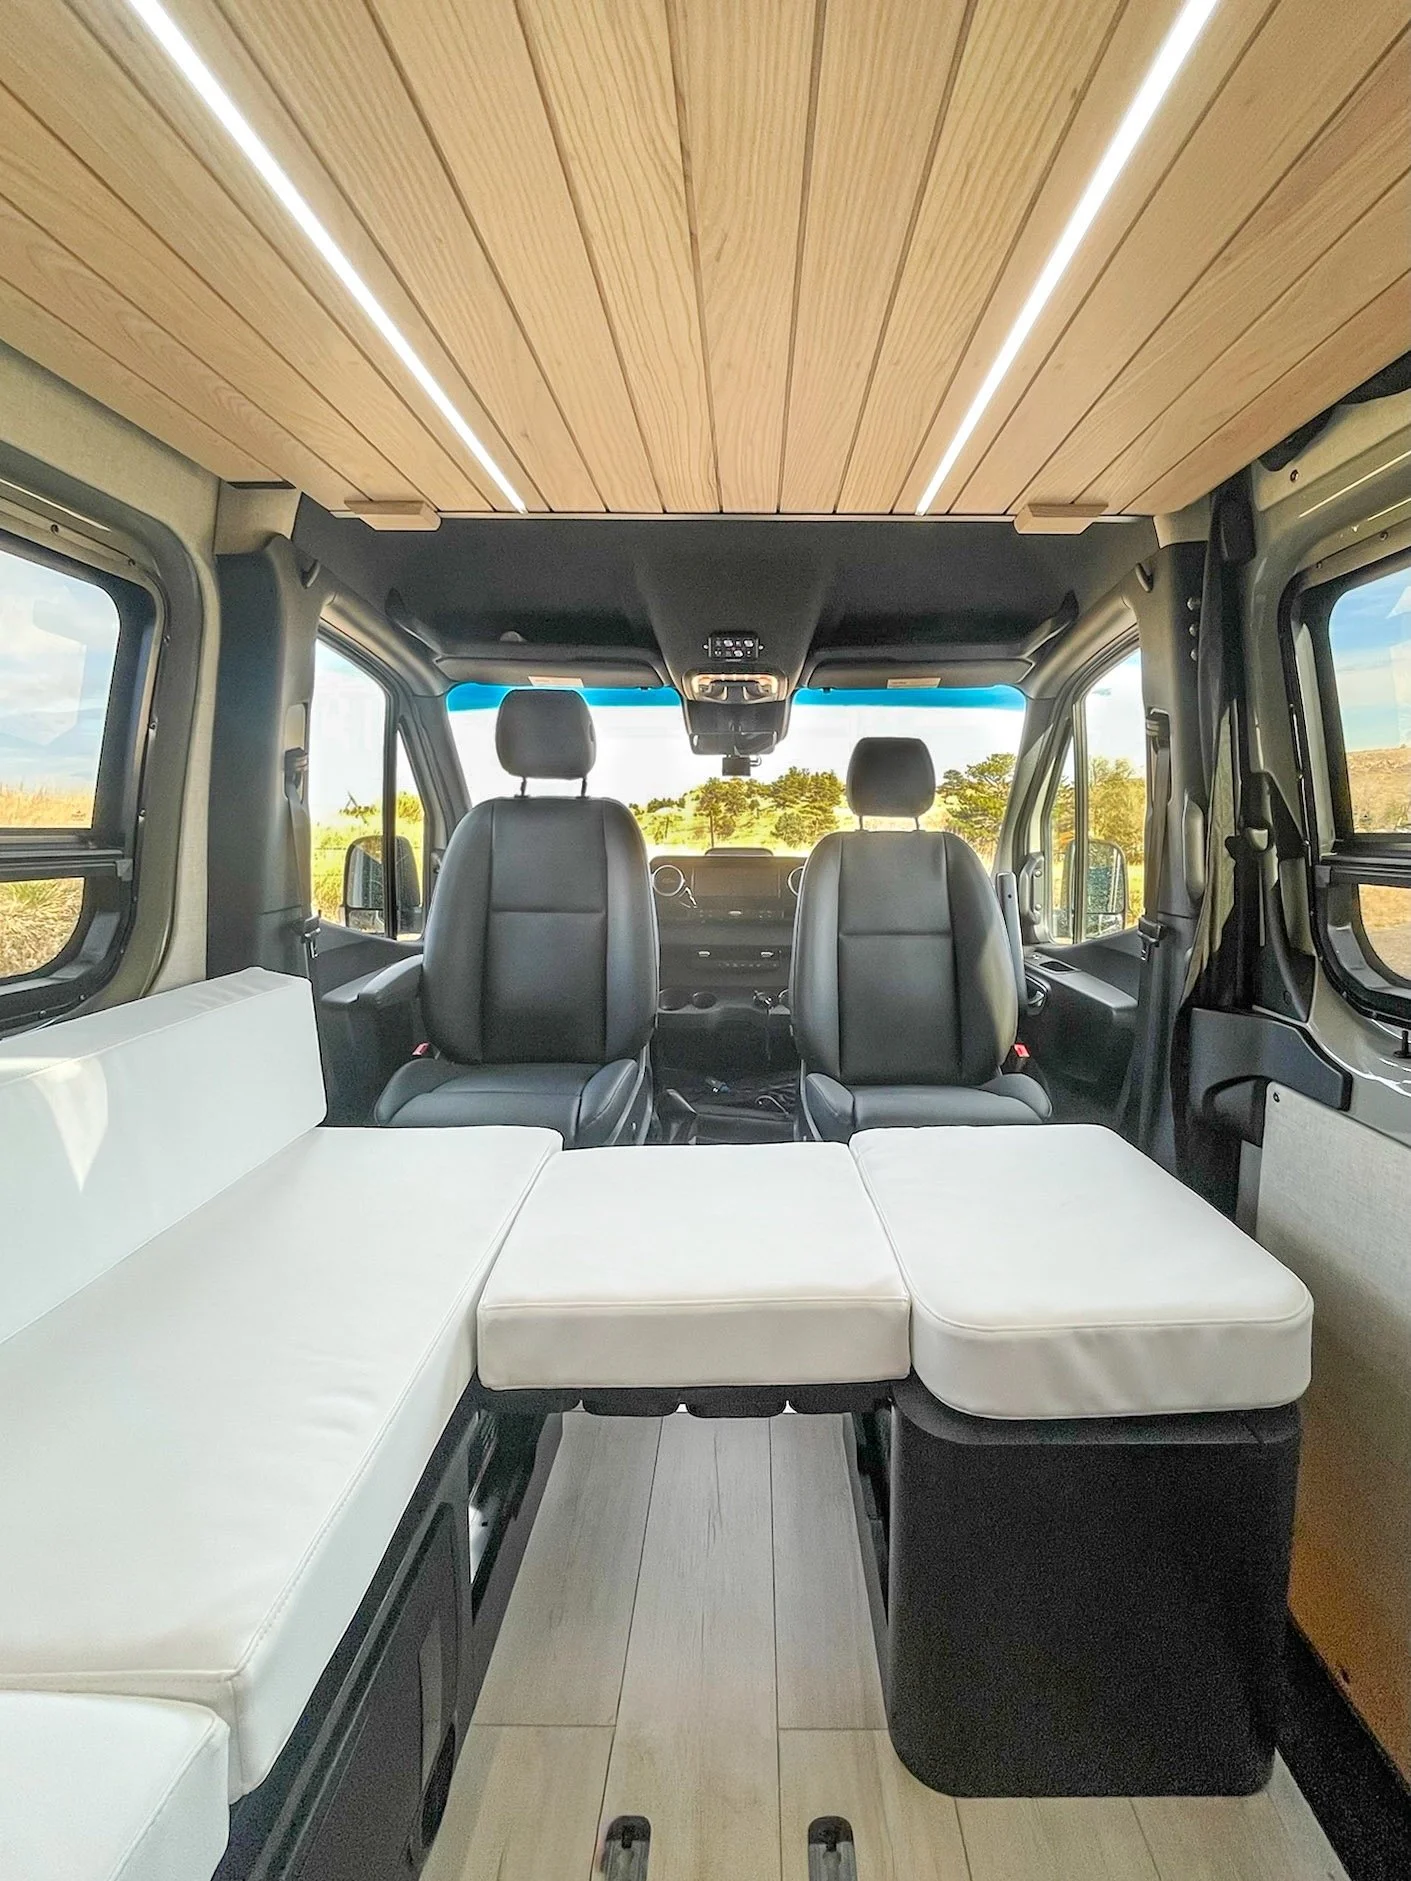
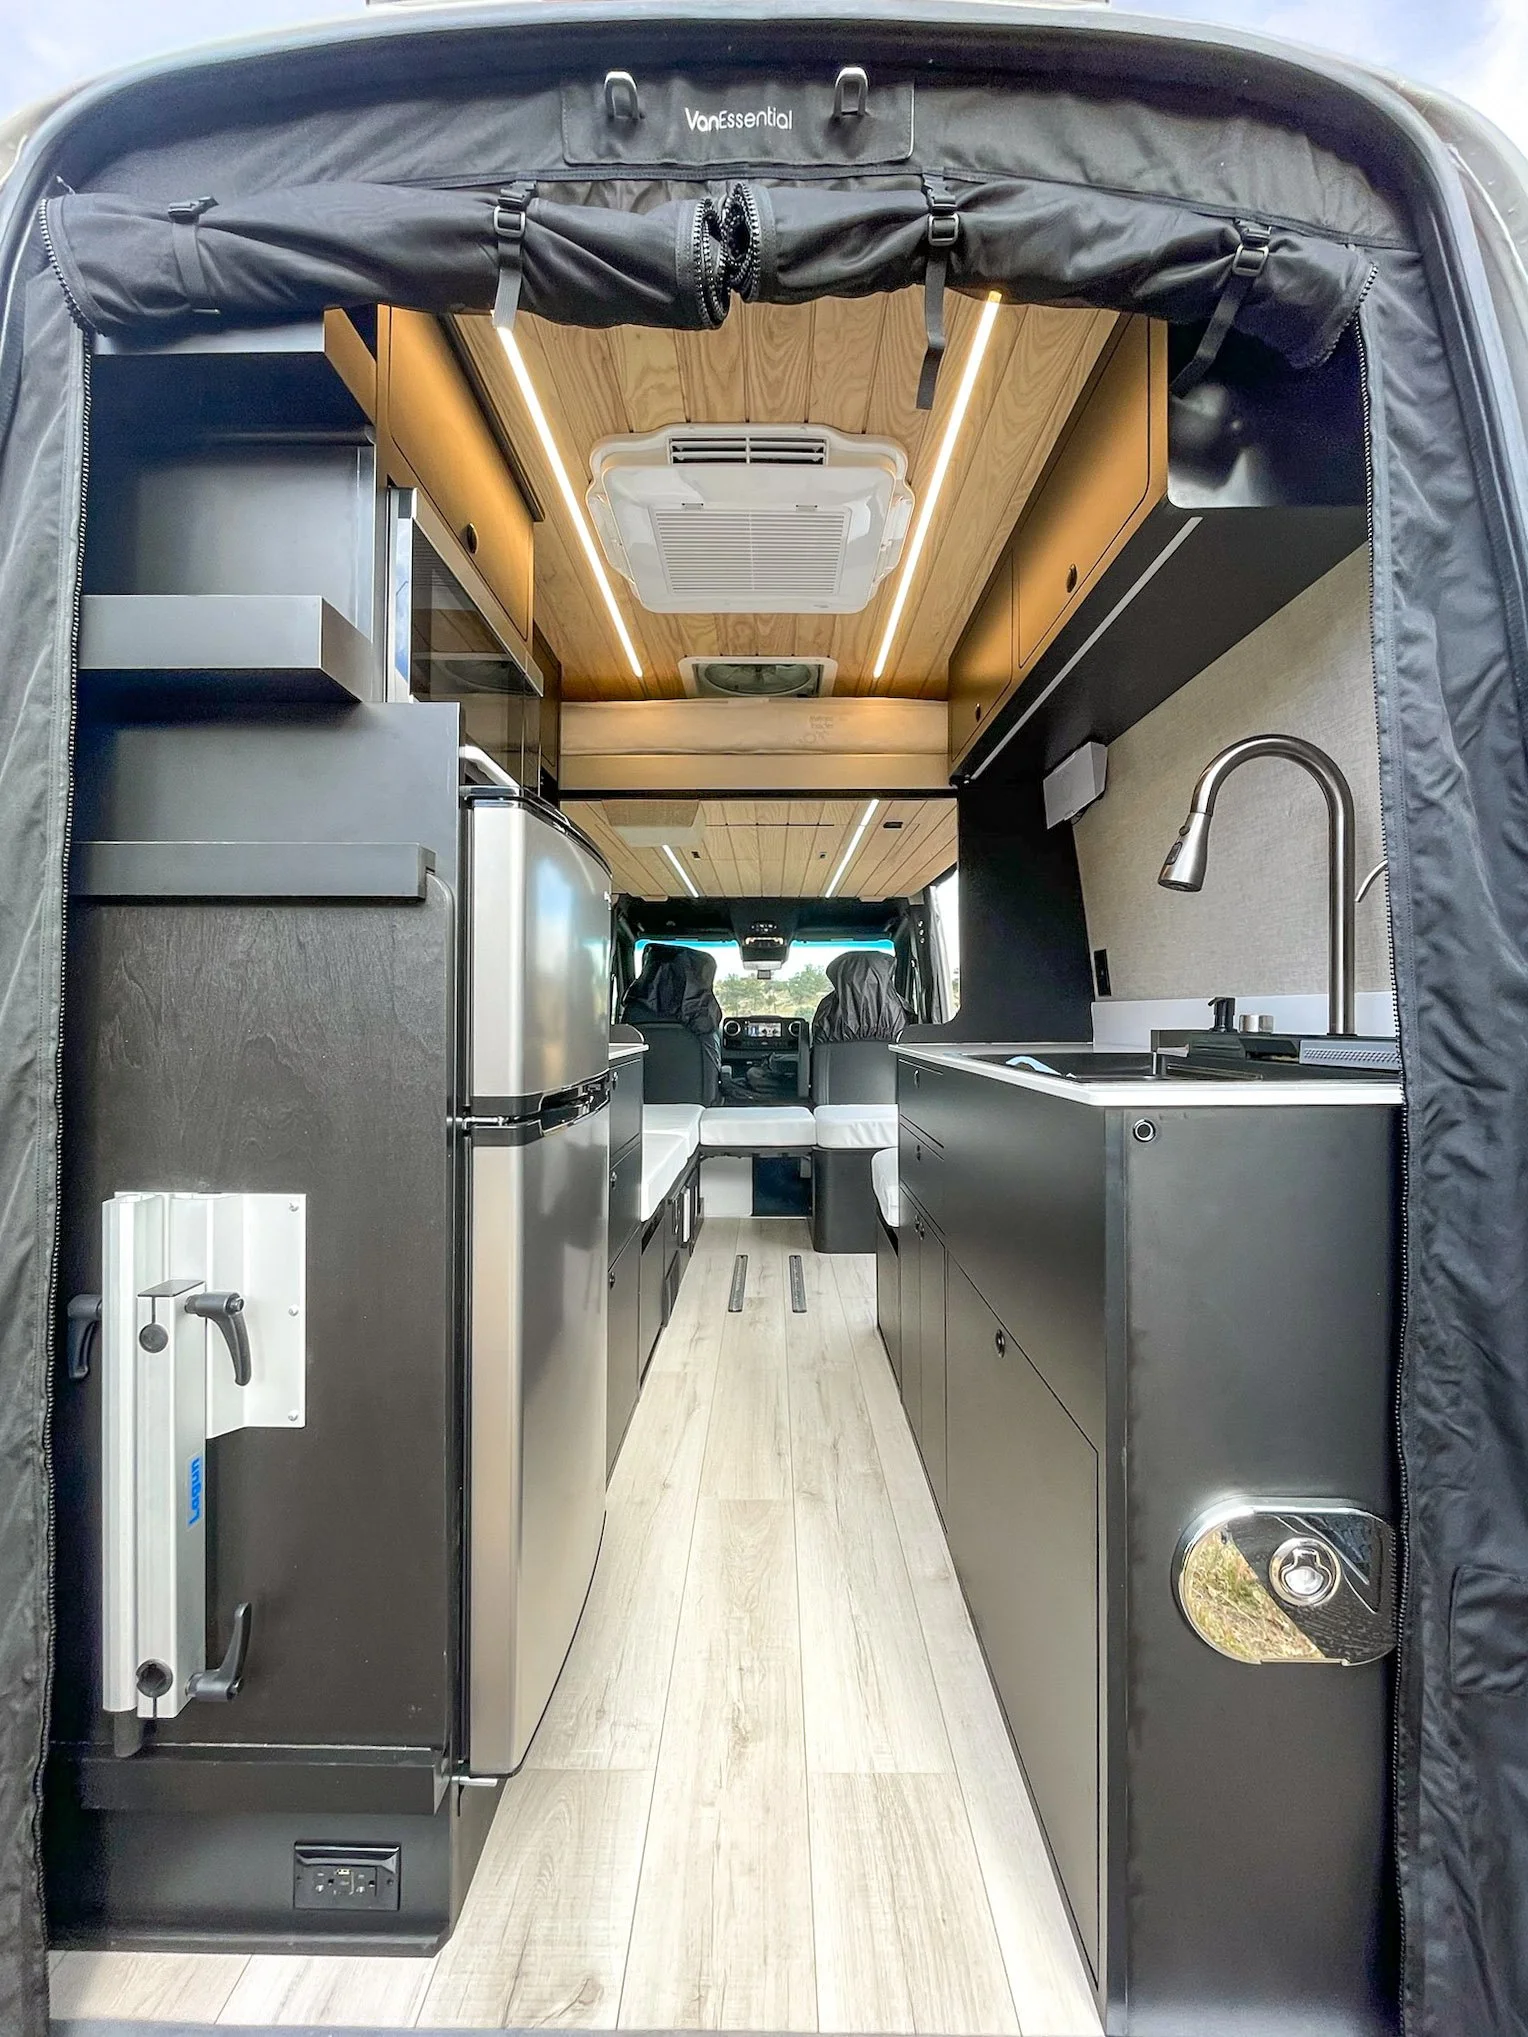
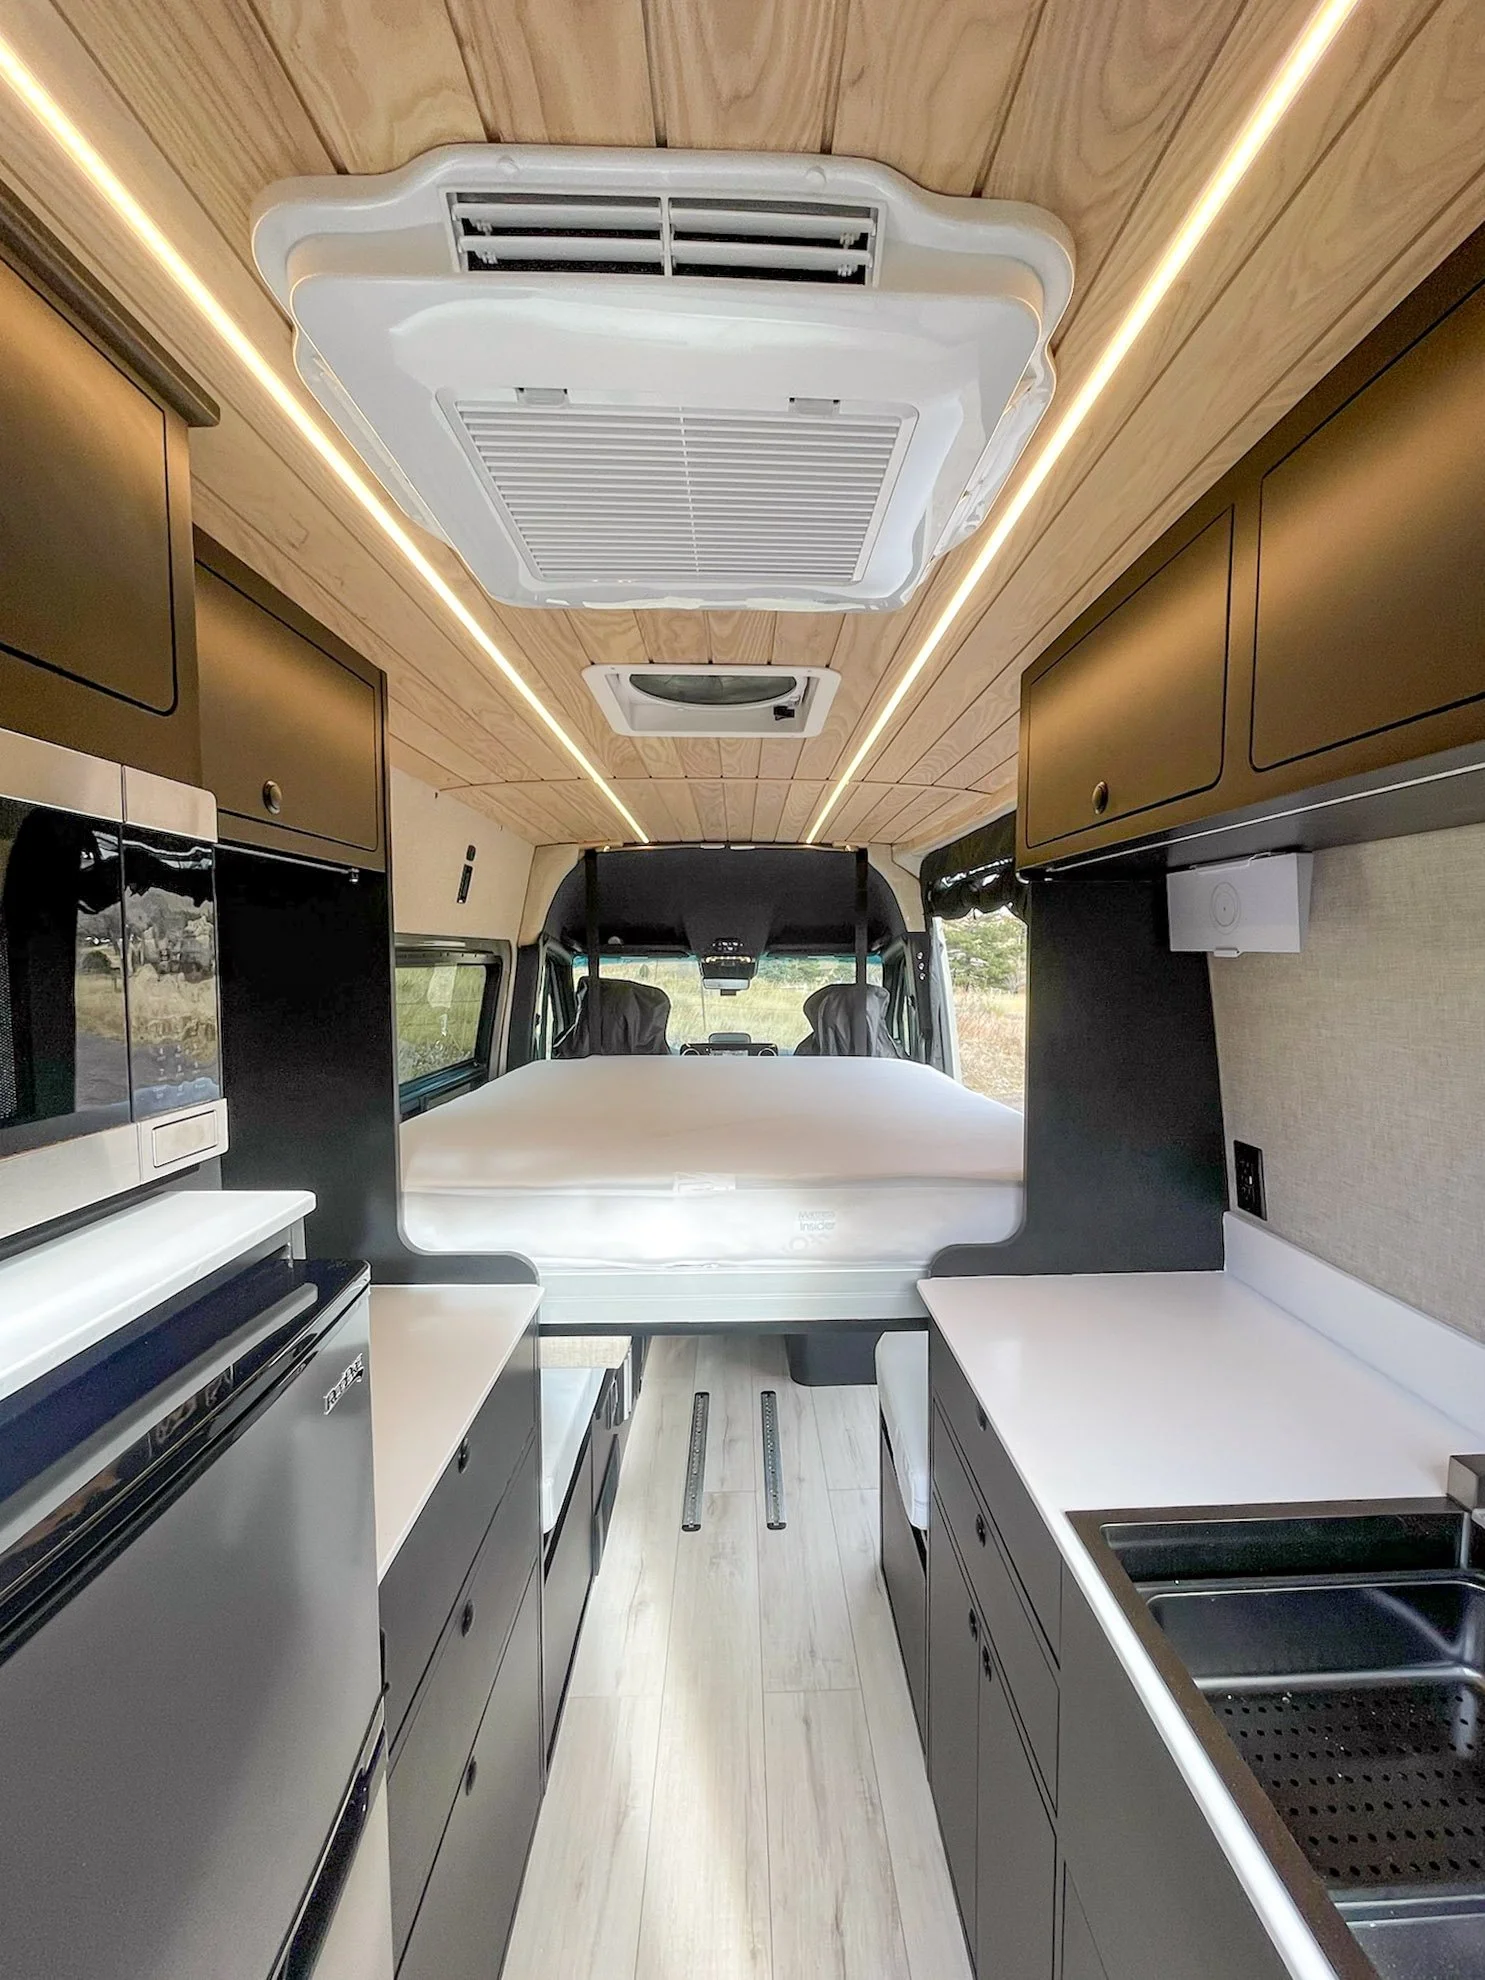
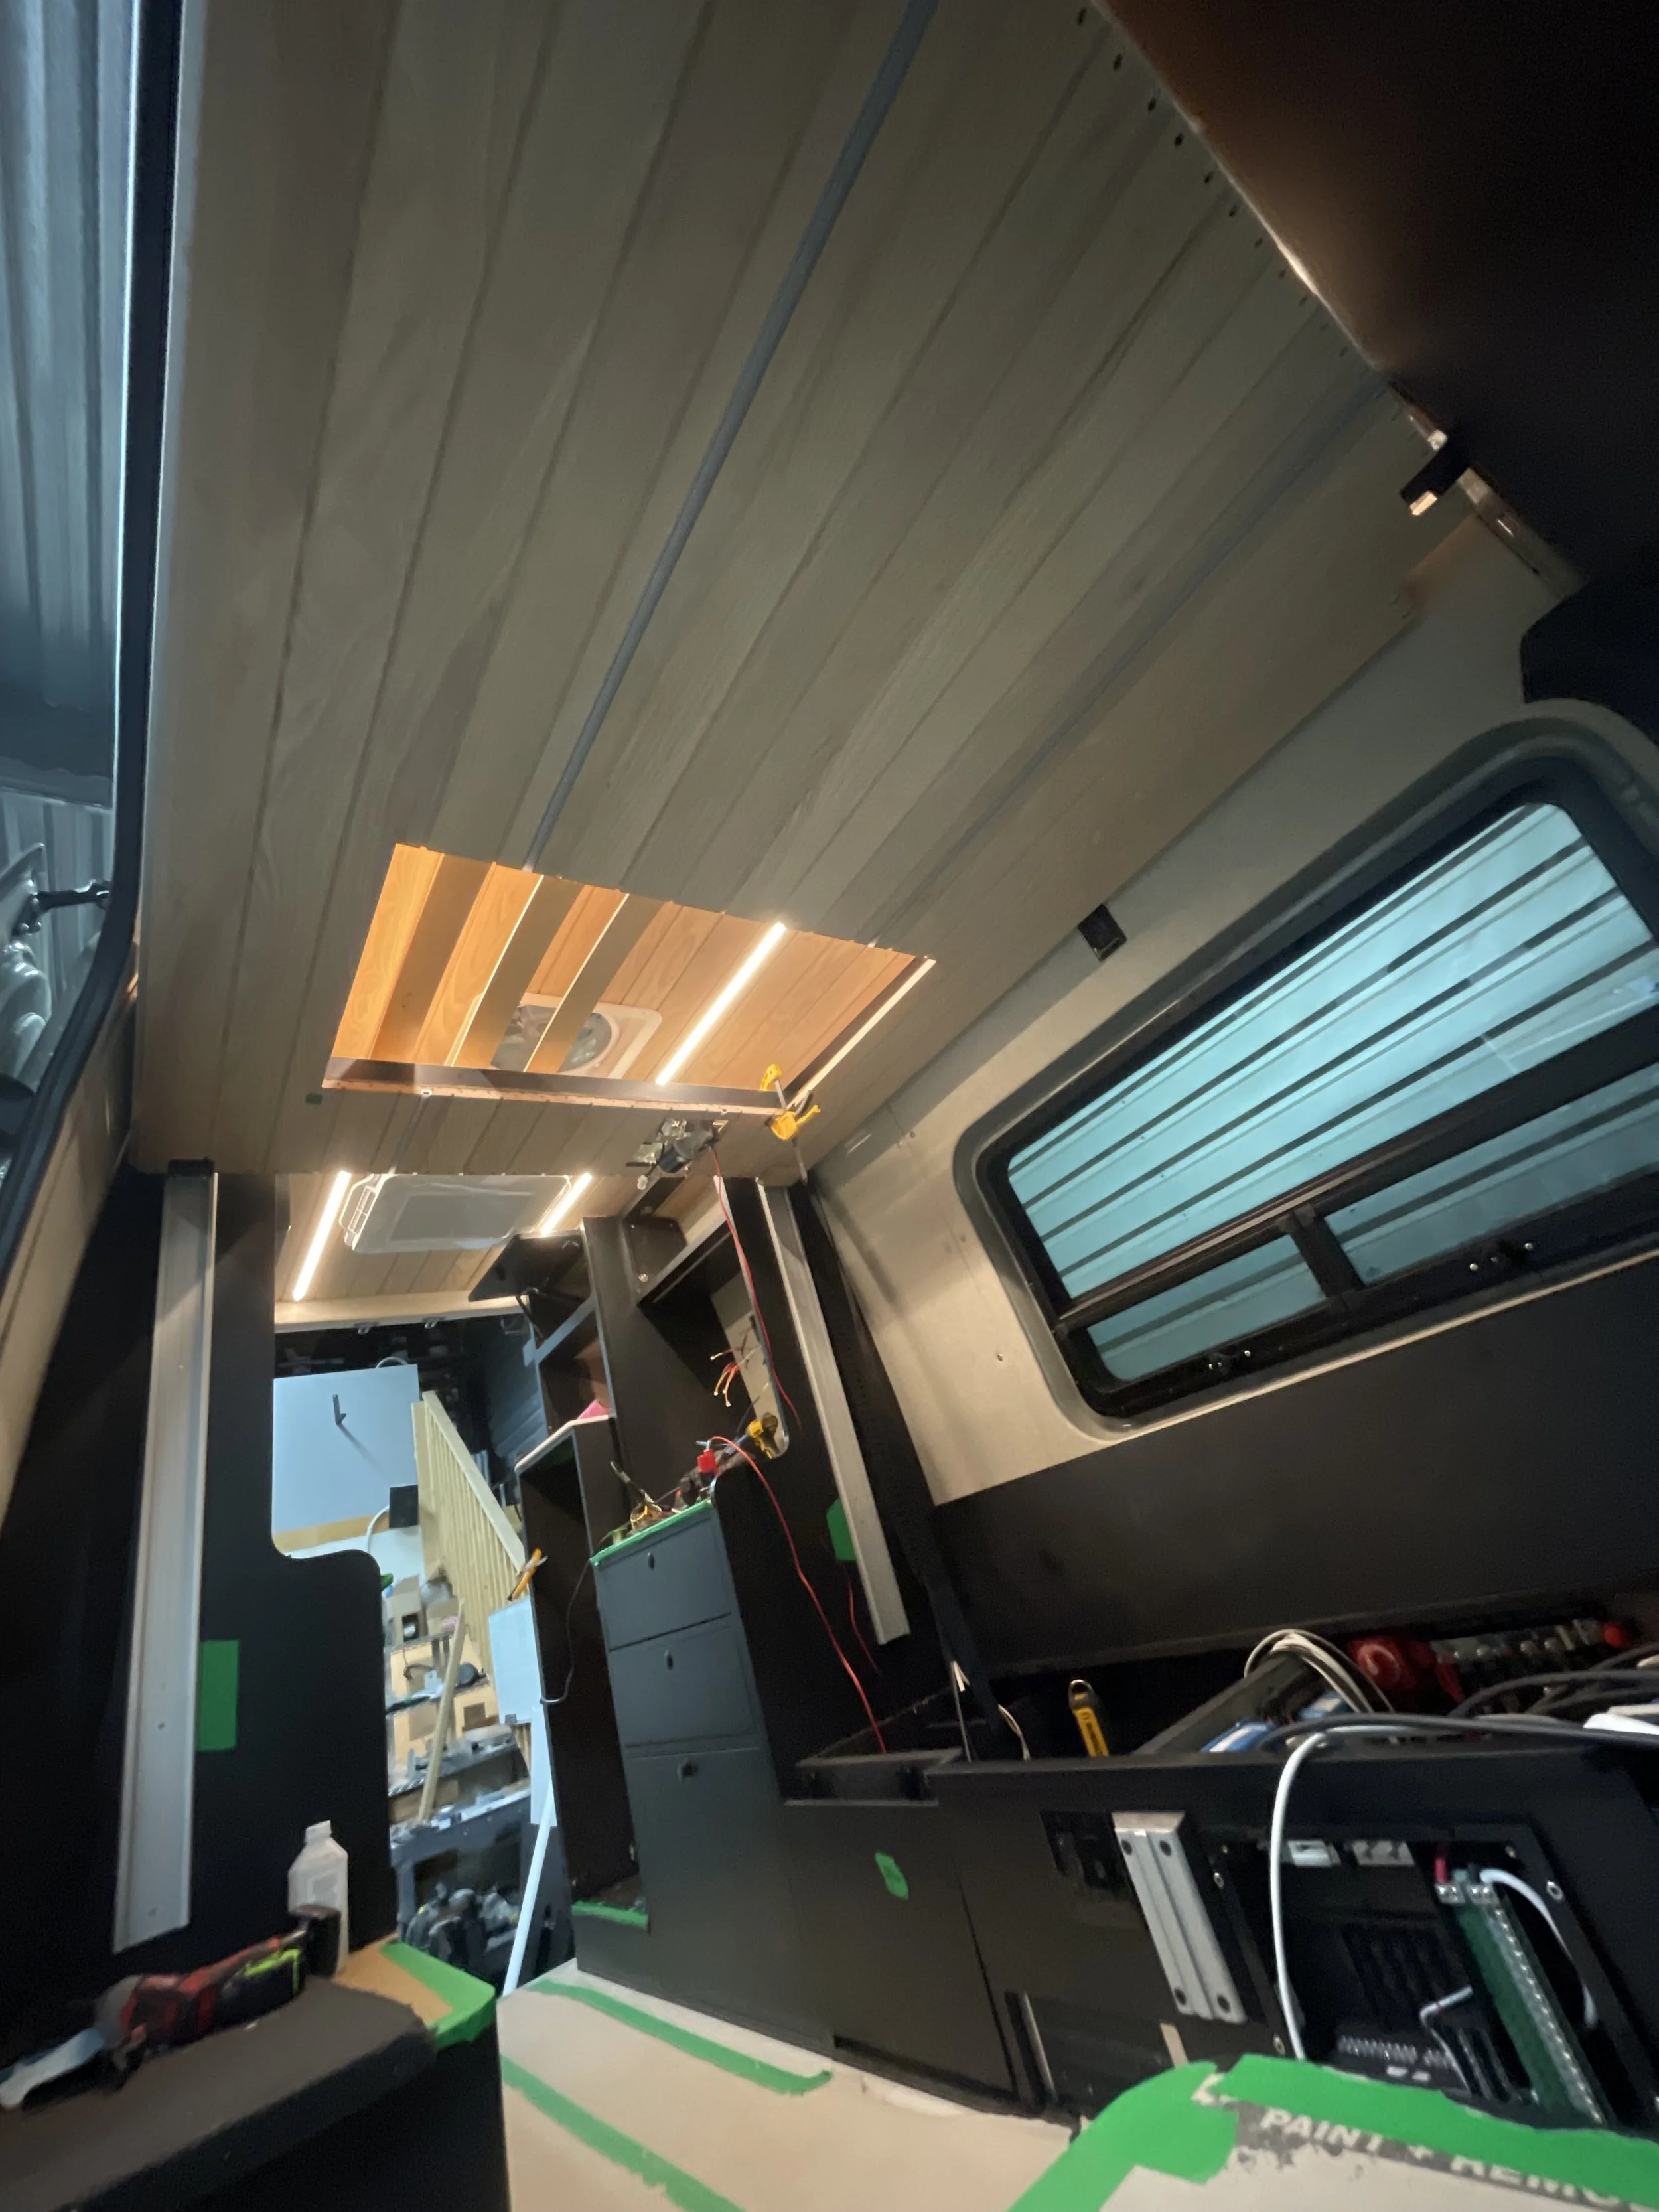
Ceiling: This client loved the natural wood look, so we went with a custom milled white Ash tongue and groove board for the ceiling (sourced from Paxton Hardwoods).
We add plywood framing to either side of the metal roof frames and then install the ceiling with brads and the same Sikaflex 252 that we use on the floor for a nice seamless look with no visible fasteners.
This customer wanted to highlight the lighter tones in the ash so we finished everything with Rubio Monocoat Wood Stain & Finish (plus hardener). We used about 200mL of finish for the ceiling. Once the ceiling is up, we fill our brad holes with matching putty for a nice seamless look. We installed LED strips into the ceiling in two zones with this track. The lights are controlled by dimmable switches both inside the slider and next to the bed for ease of use from the front or back of the van.