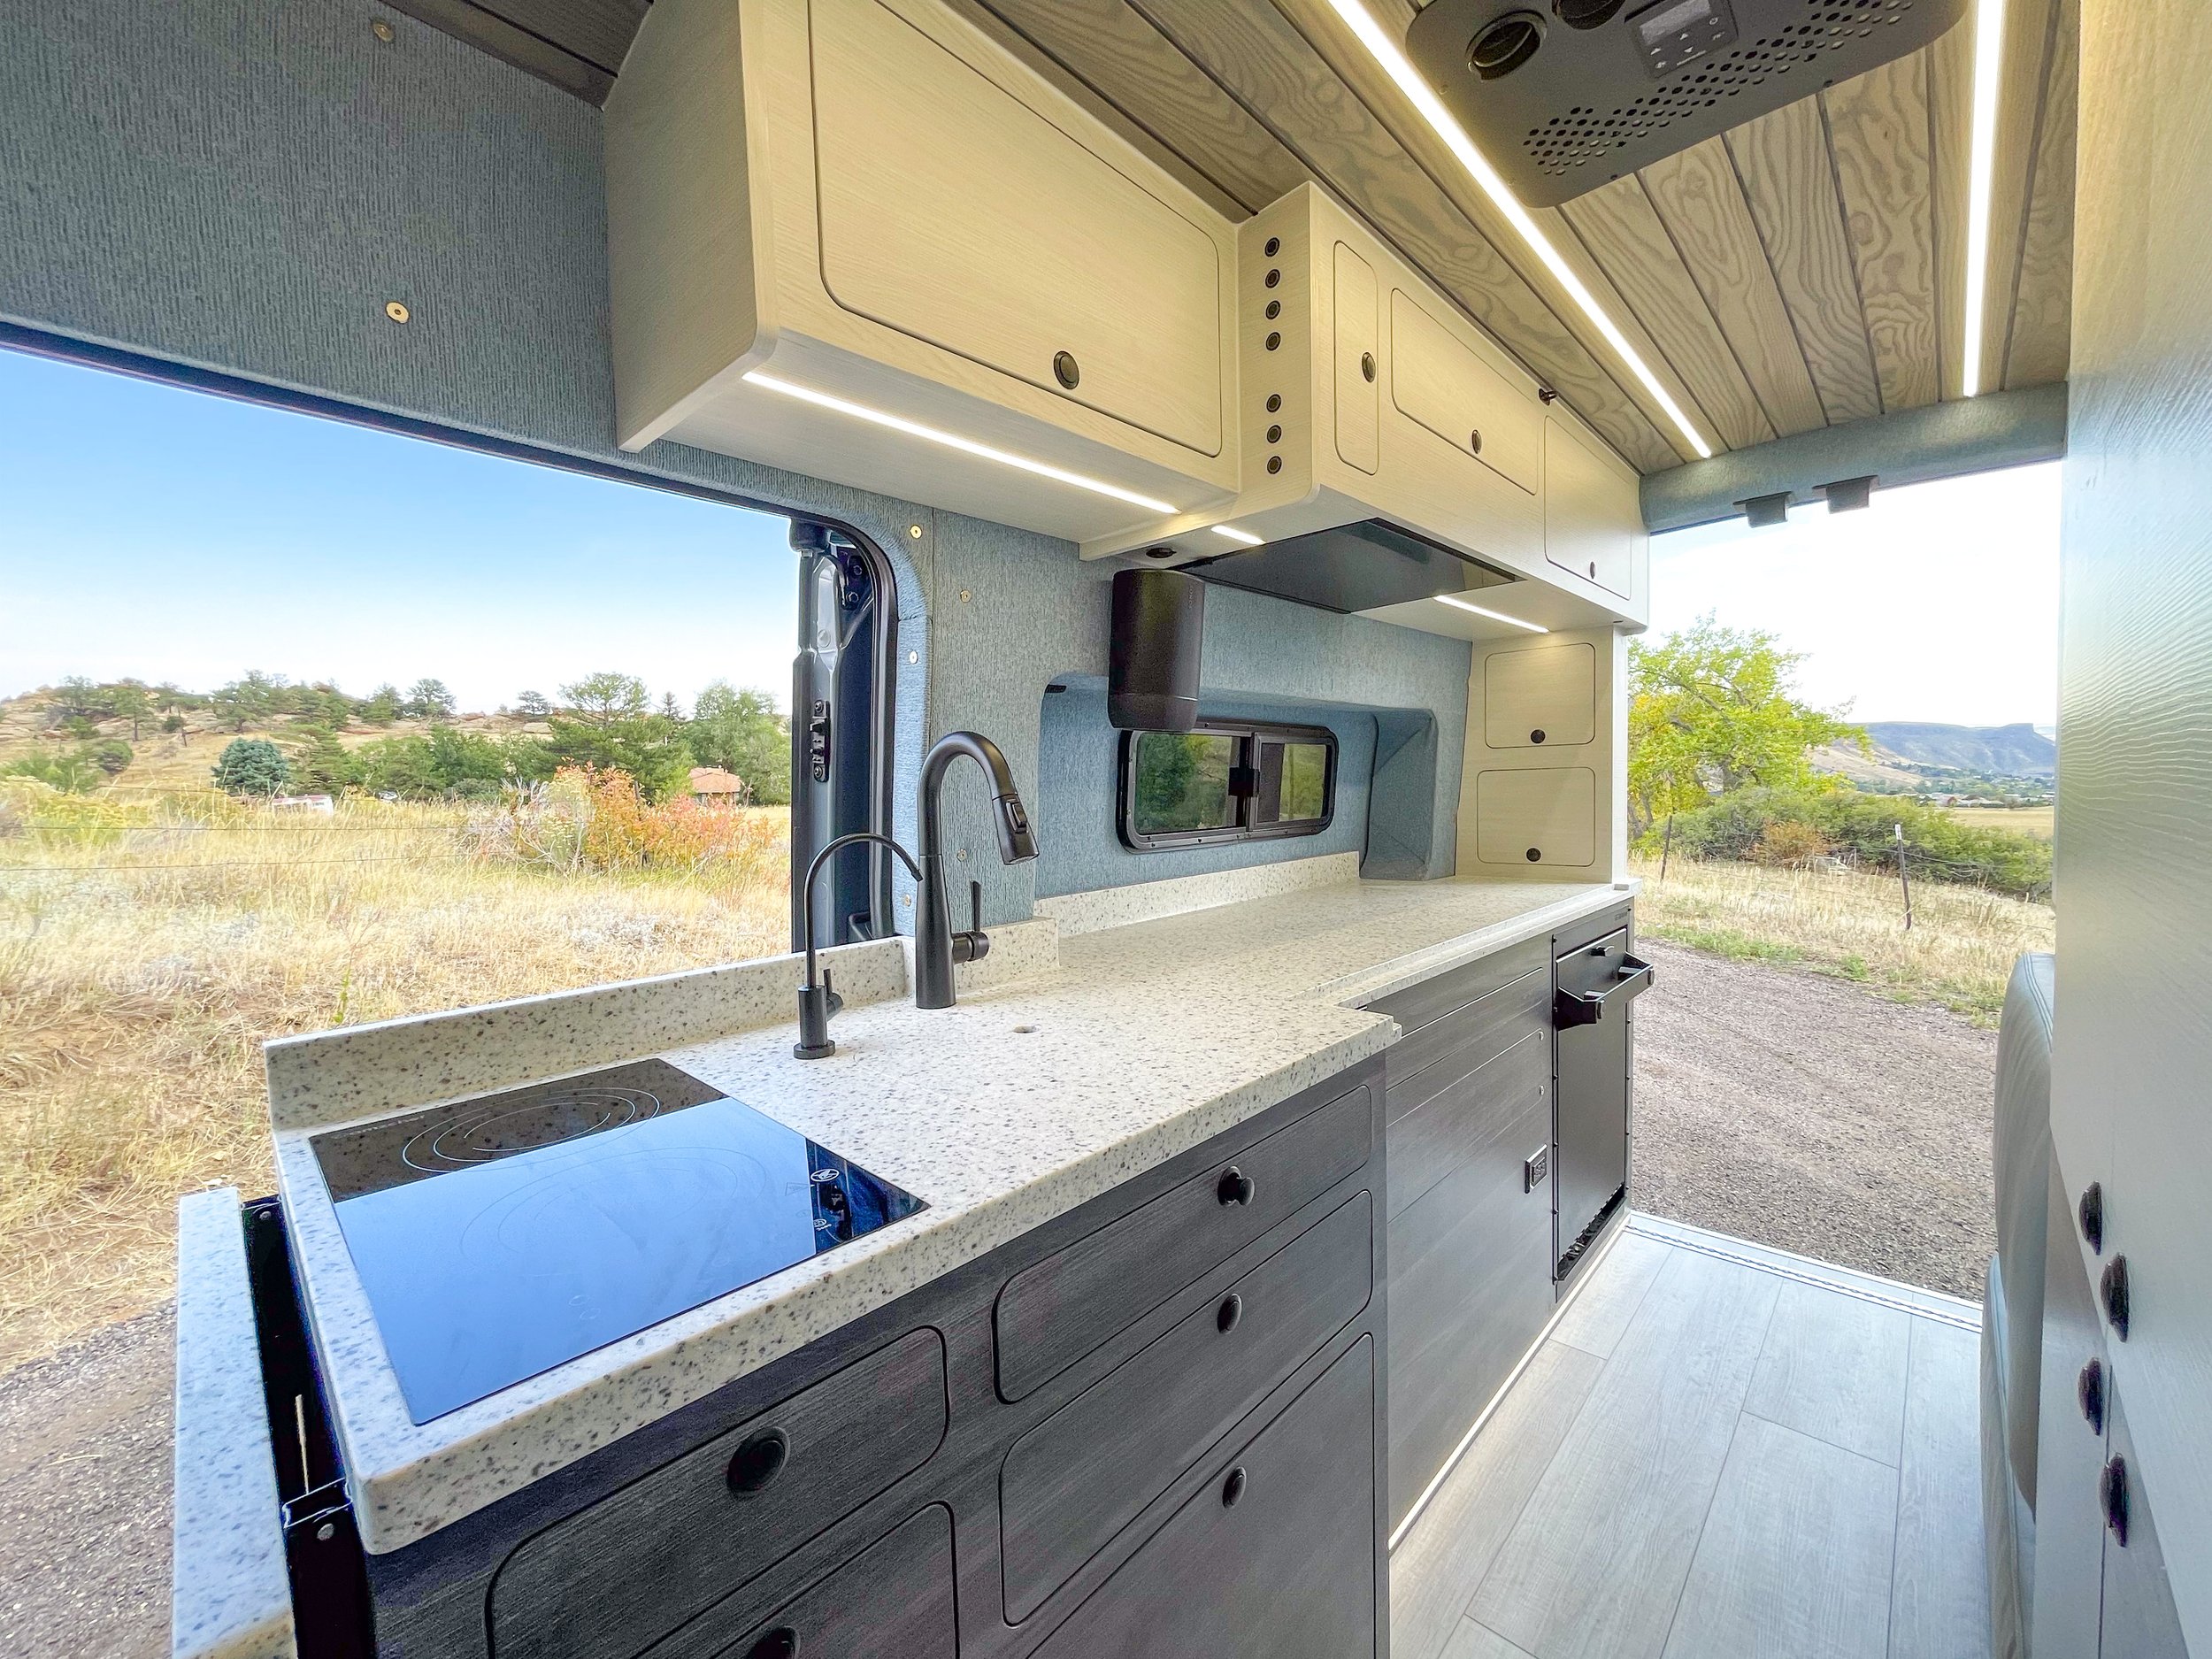
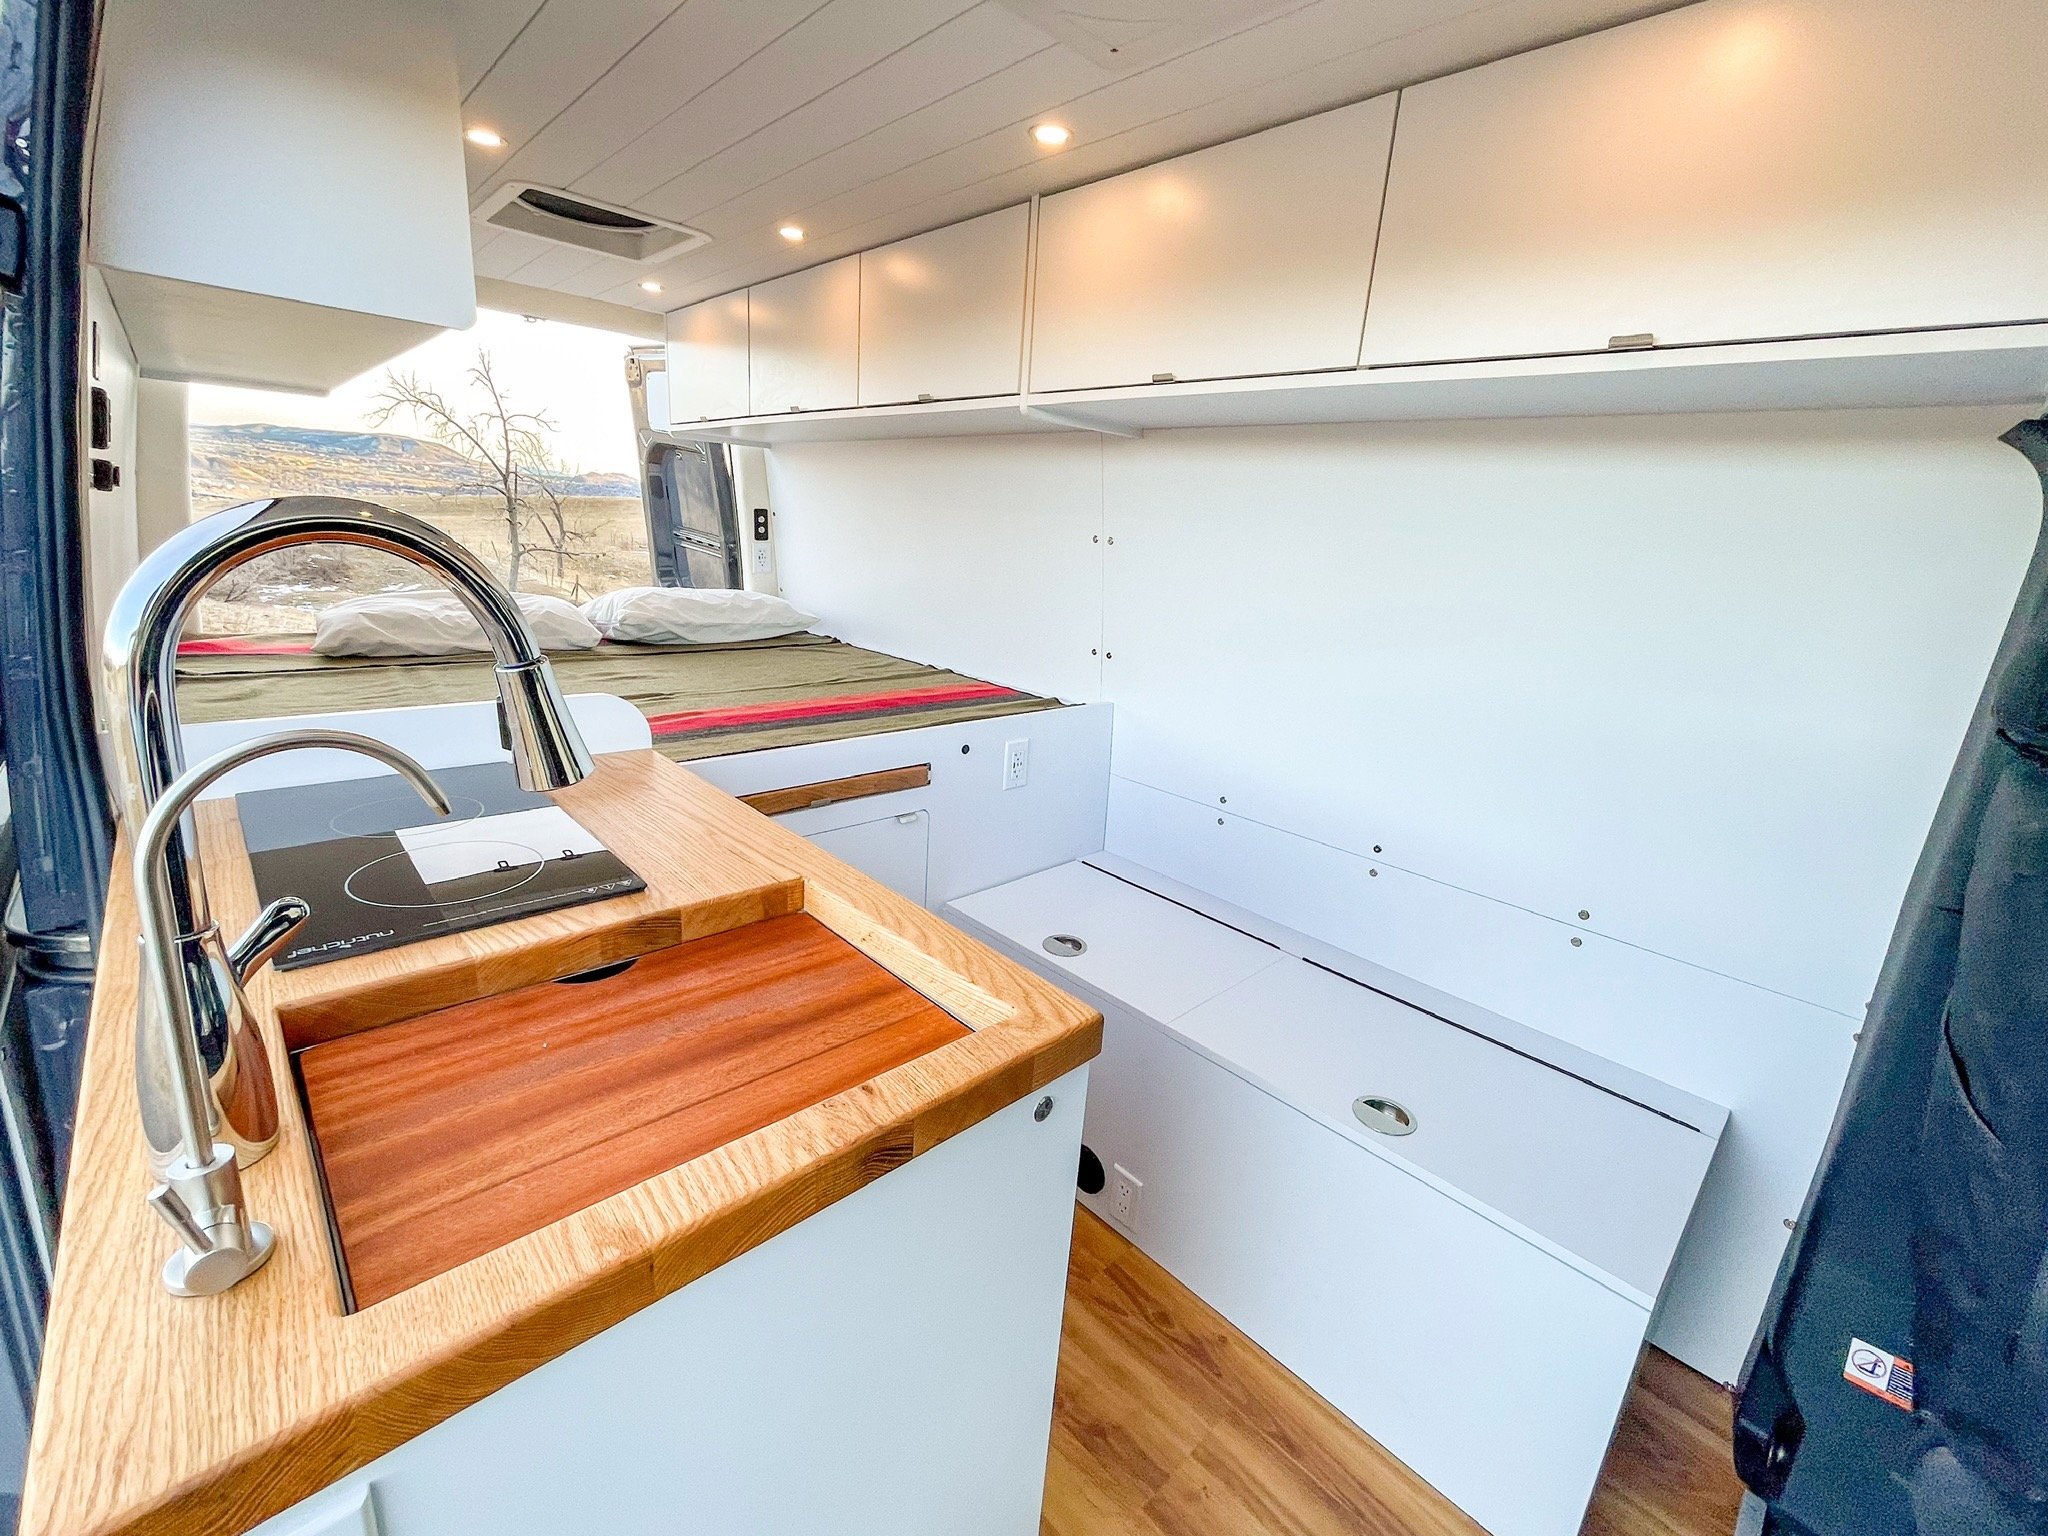
Cabinetry & Interior Furniture
Cabinetry is one of the biggest parts of every van build. We’ve learned a lot over the years from materials to hardware to premade options that save can save you countless hours of work.
Check out our go to cabinetry products on our Amazon Storefront and as always, reach out to info@coadventurevans.com if you need help with your van. For those looking to learn, feel free to dive deep with us below:
Materials: Building for Strength, Weight, and Style
As a custom shop, we’re always open to exploring new materials, but most of our cabinetry starts with one of the following options:
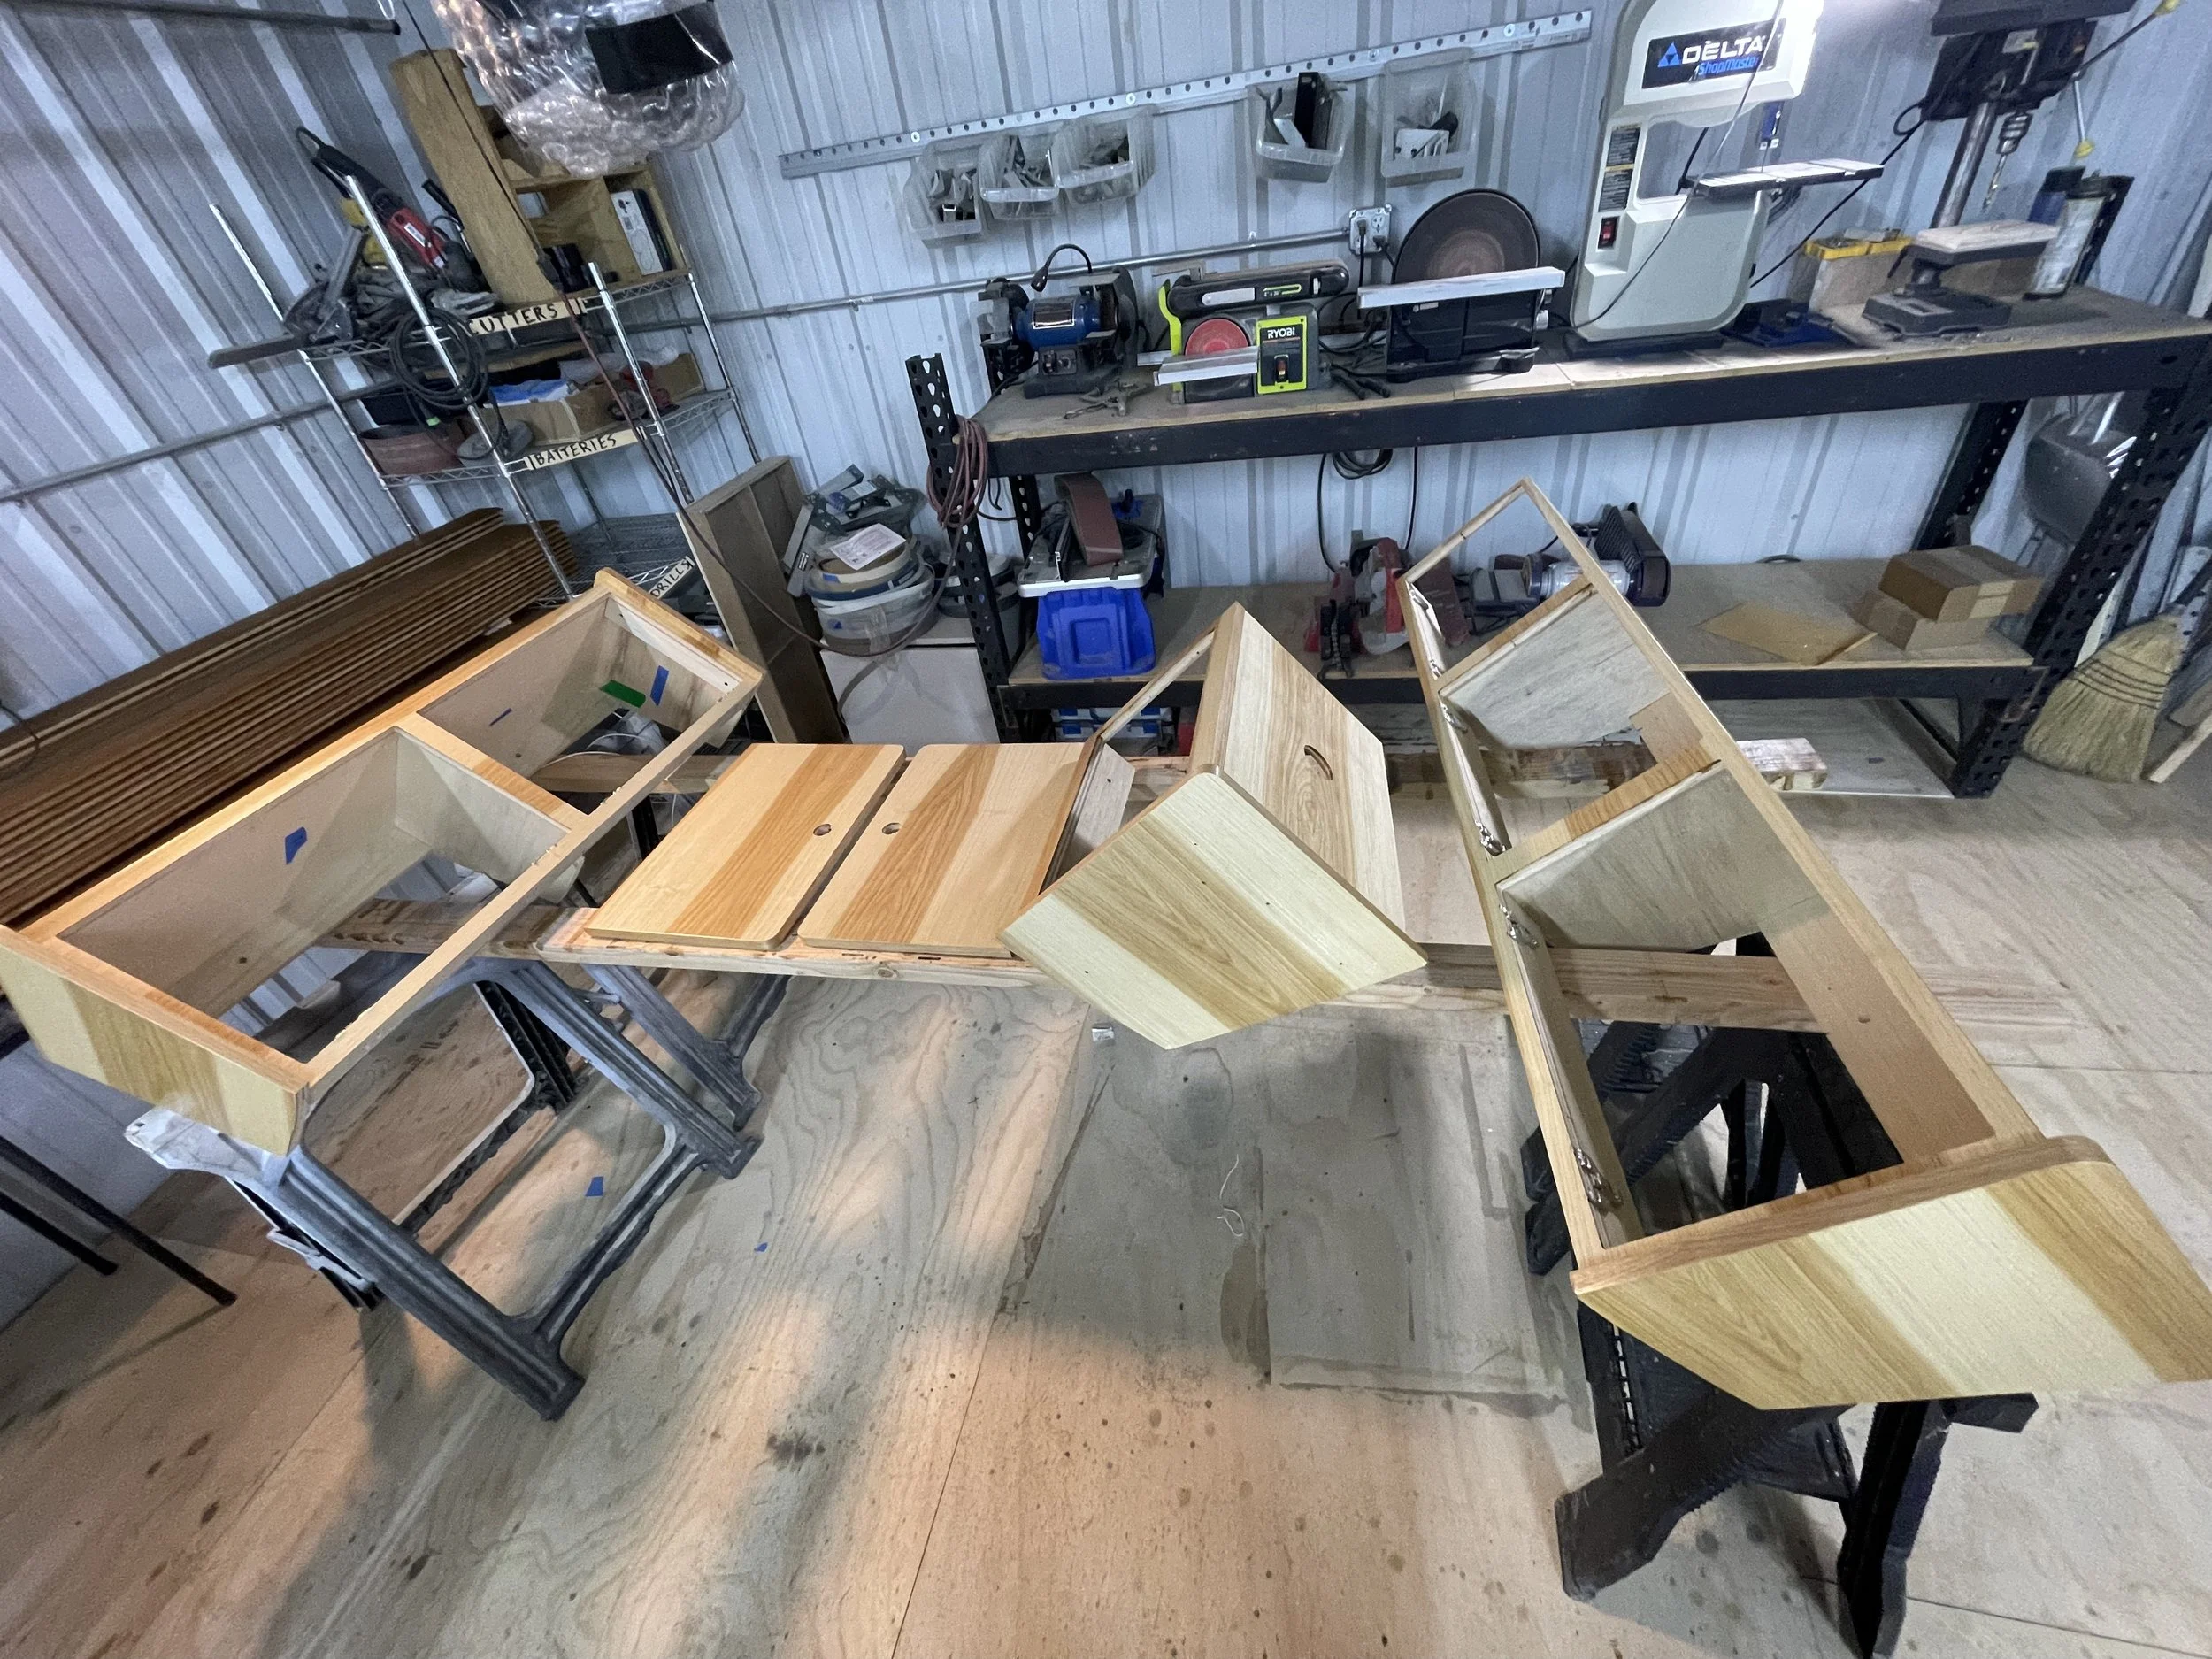
Laminated Light Plywood
We source Luan light plywood from Austin Hardwoods here in Denver. On its own, it’s not ideal for every use case—but when joined into a cabinet frame, it’s strong, incredibly lightweight, and gives us a solid substrate to glue our laminate finish to.
Weight savings are especially valuable in van builds, where every pound matters for efficiency and handling. While function is our priority, this plywood also offers a warm, consistent grain that works well in both natural and laminated finishes.
(See examples of projects using this material below)

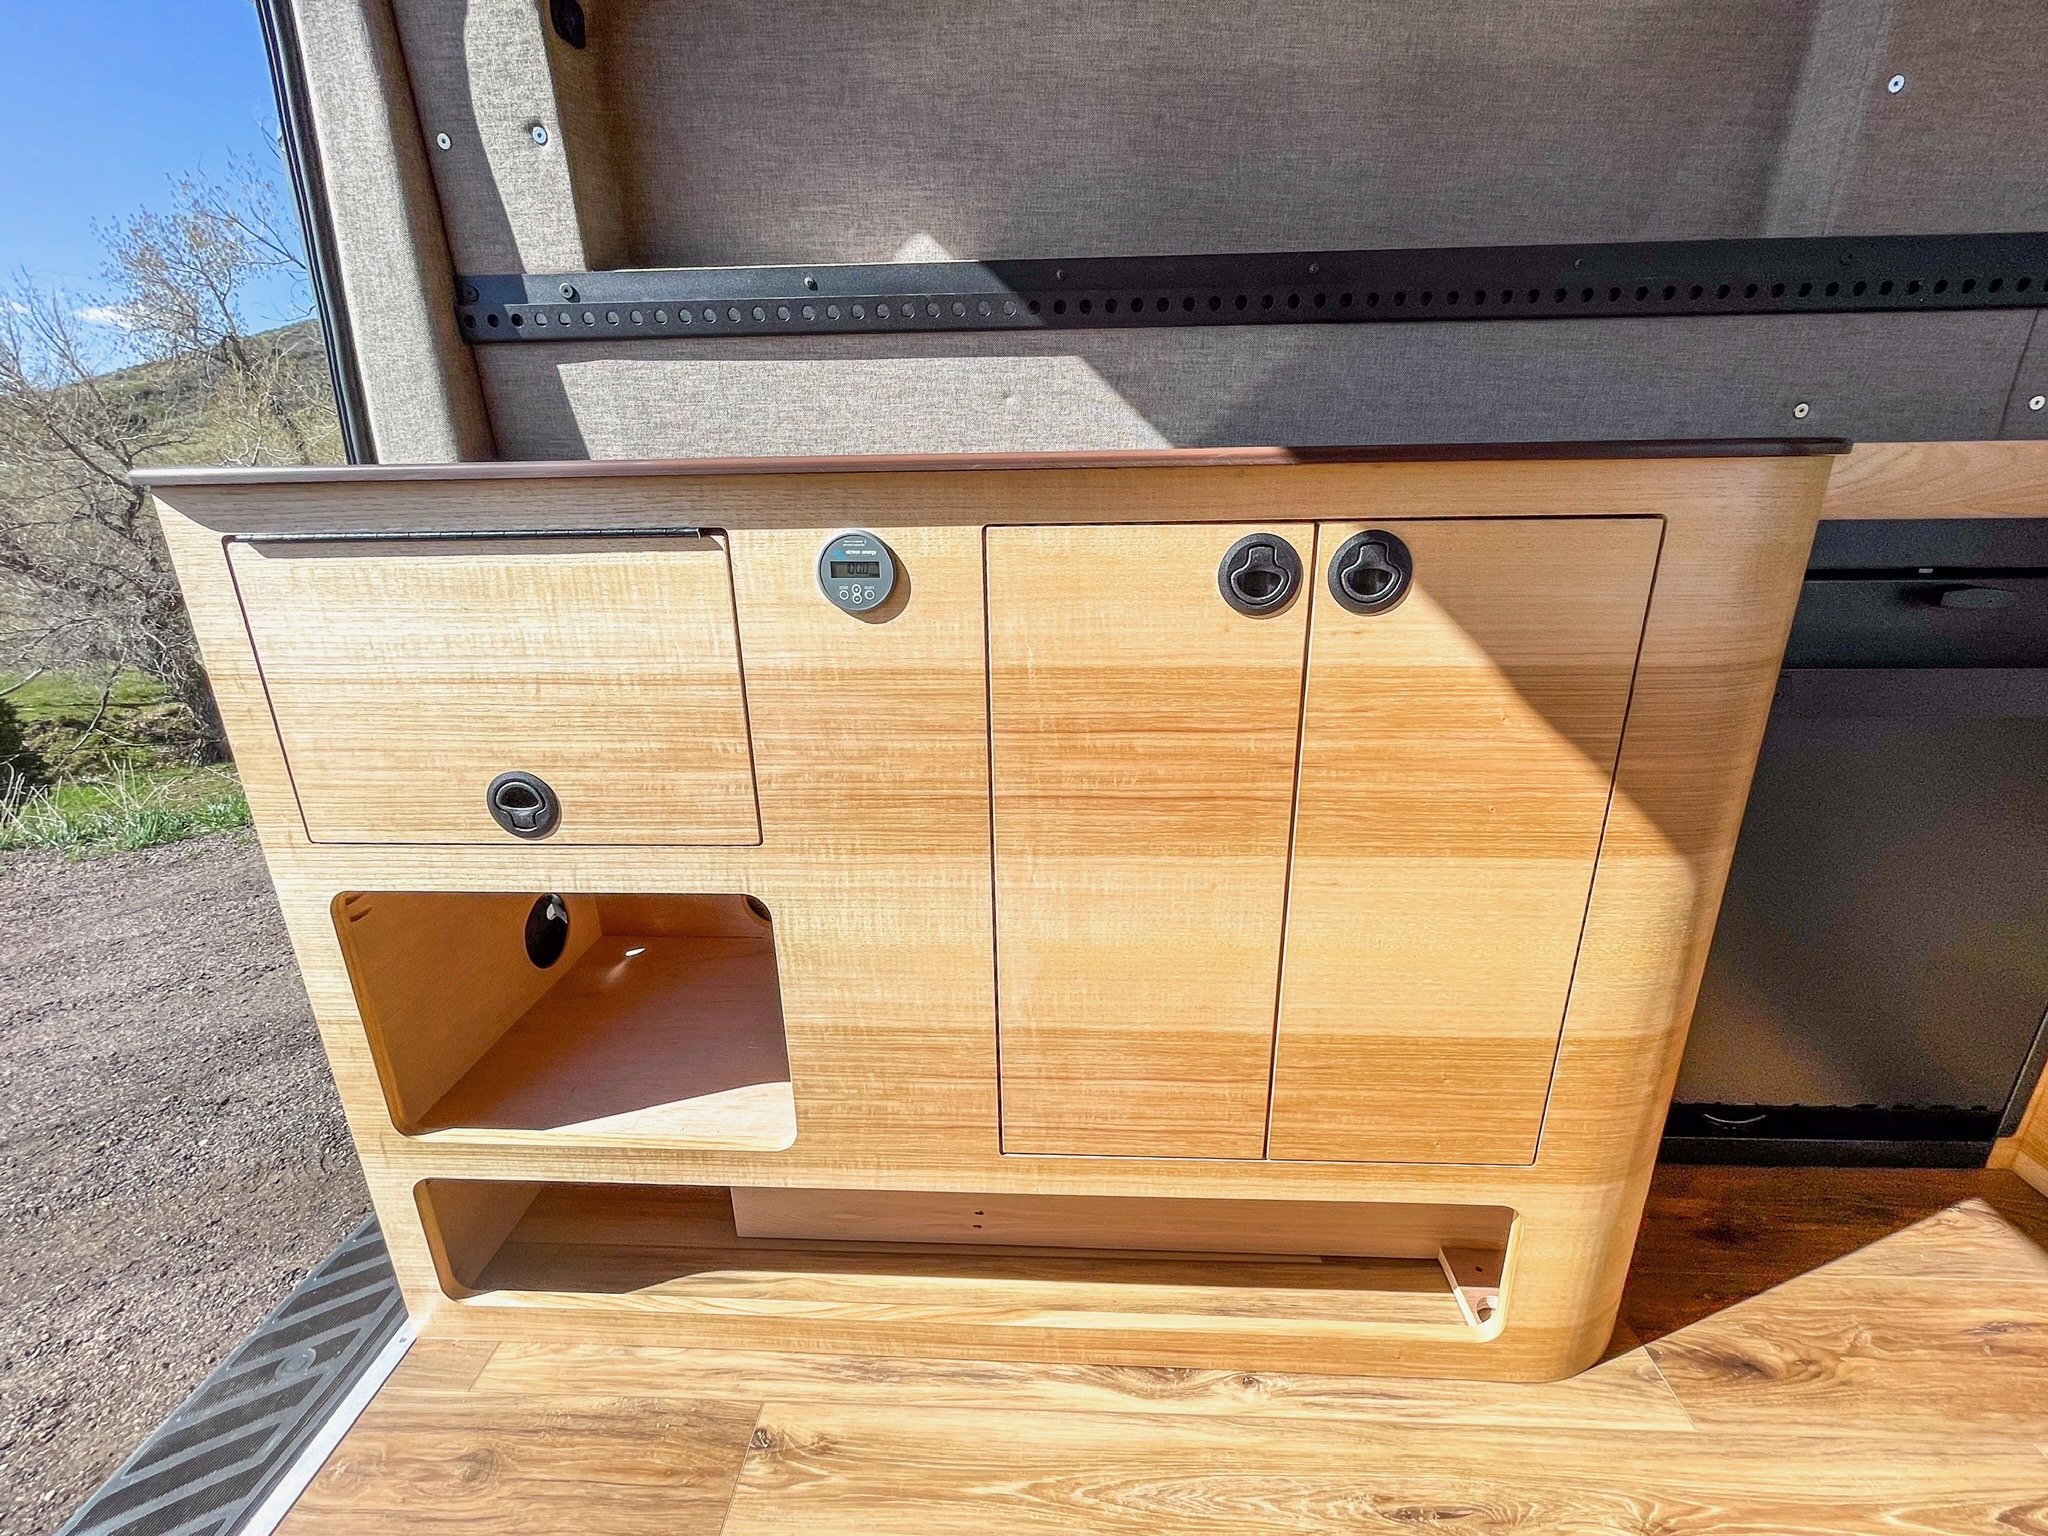
Veneer Plywood - For those interested in a more natural look, veneer plywood with natural wood edge banding is a great option. We have done a few builds with Hickory Veneer plywood. Our first flagship build, Vanna White used Walnut Veneer plywood and we have done a few vans since then with a nice hickory veneer plywood. For those that want that real wood look and feel, veneer plywood looks clean and natural.


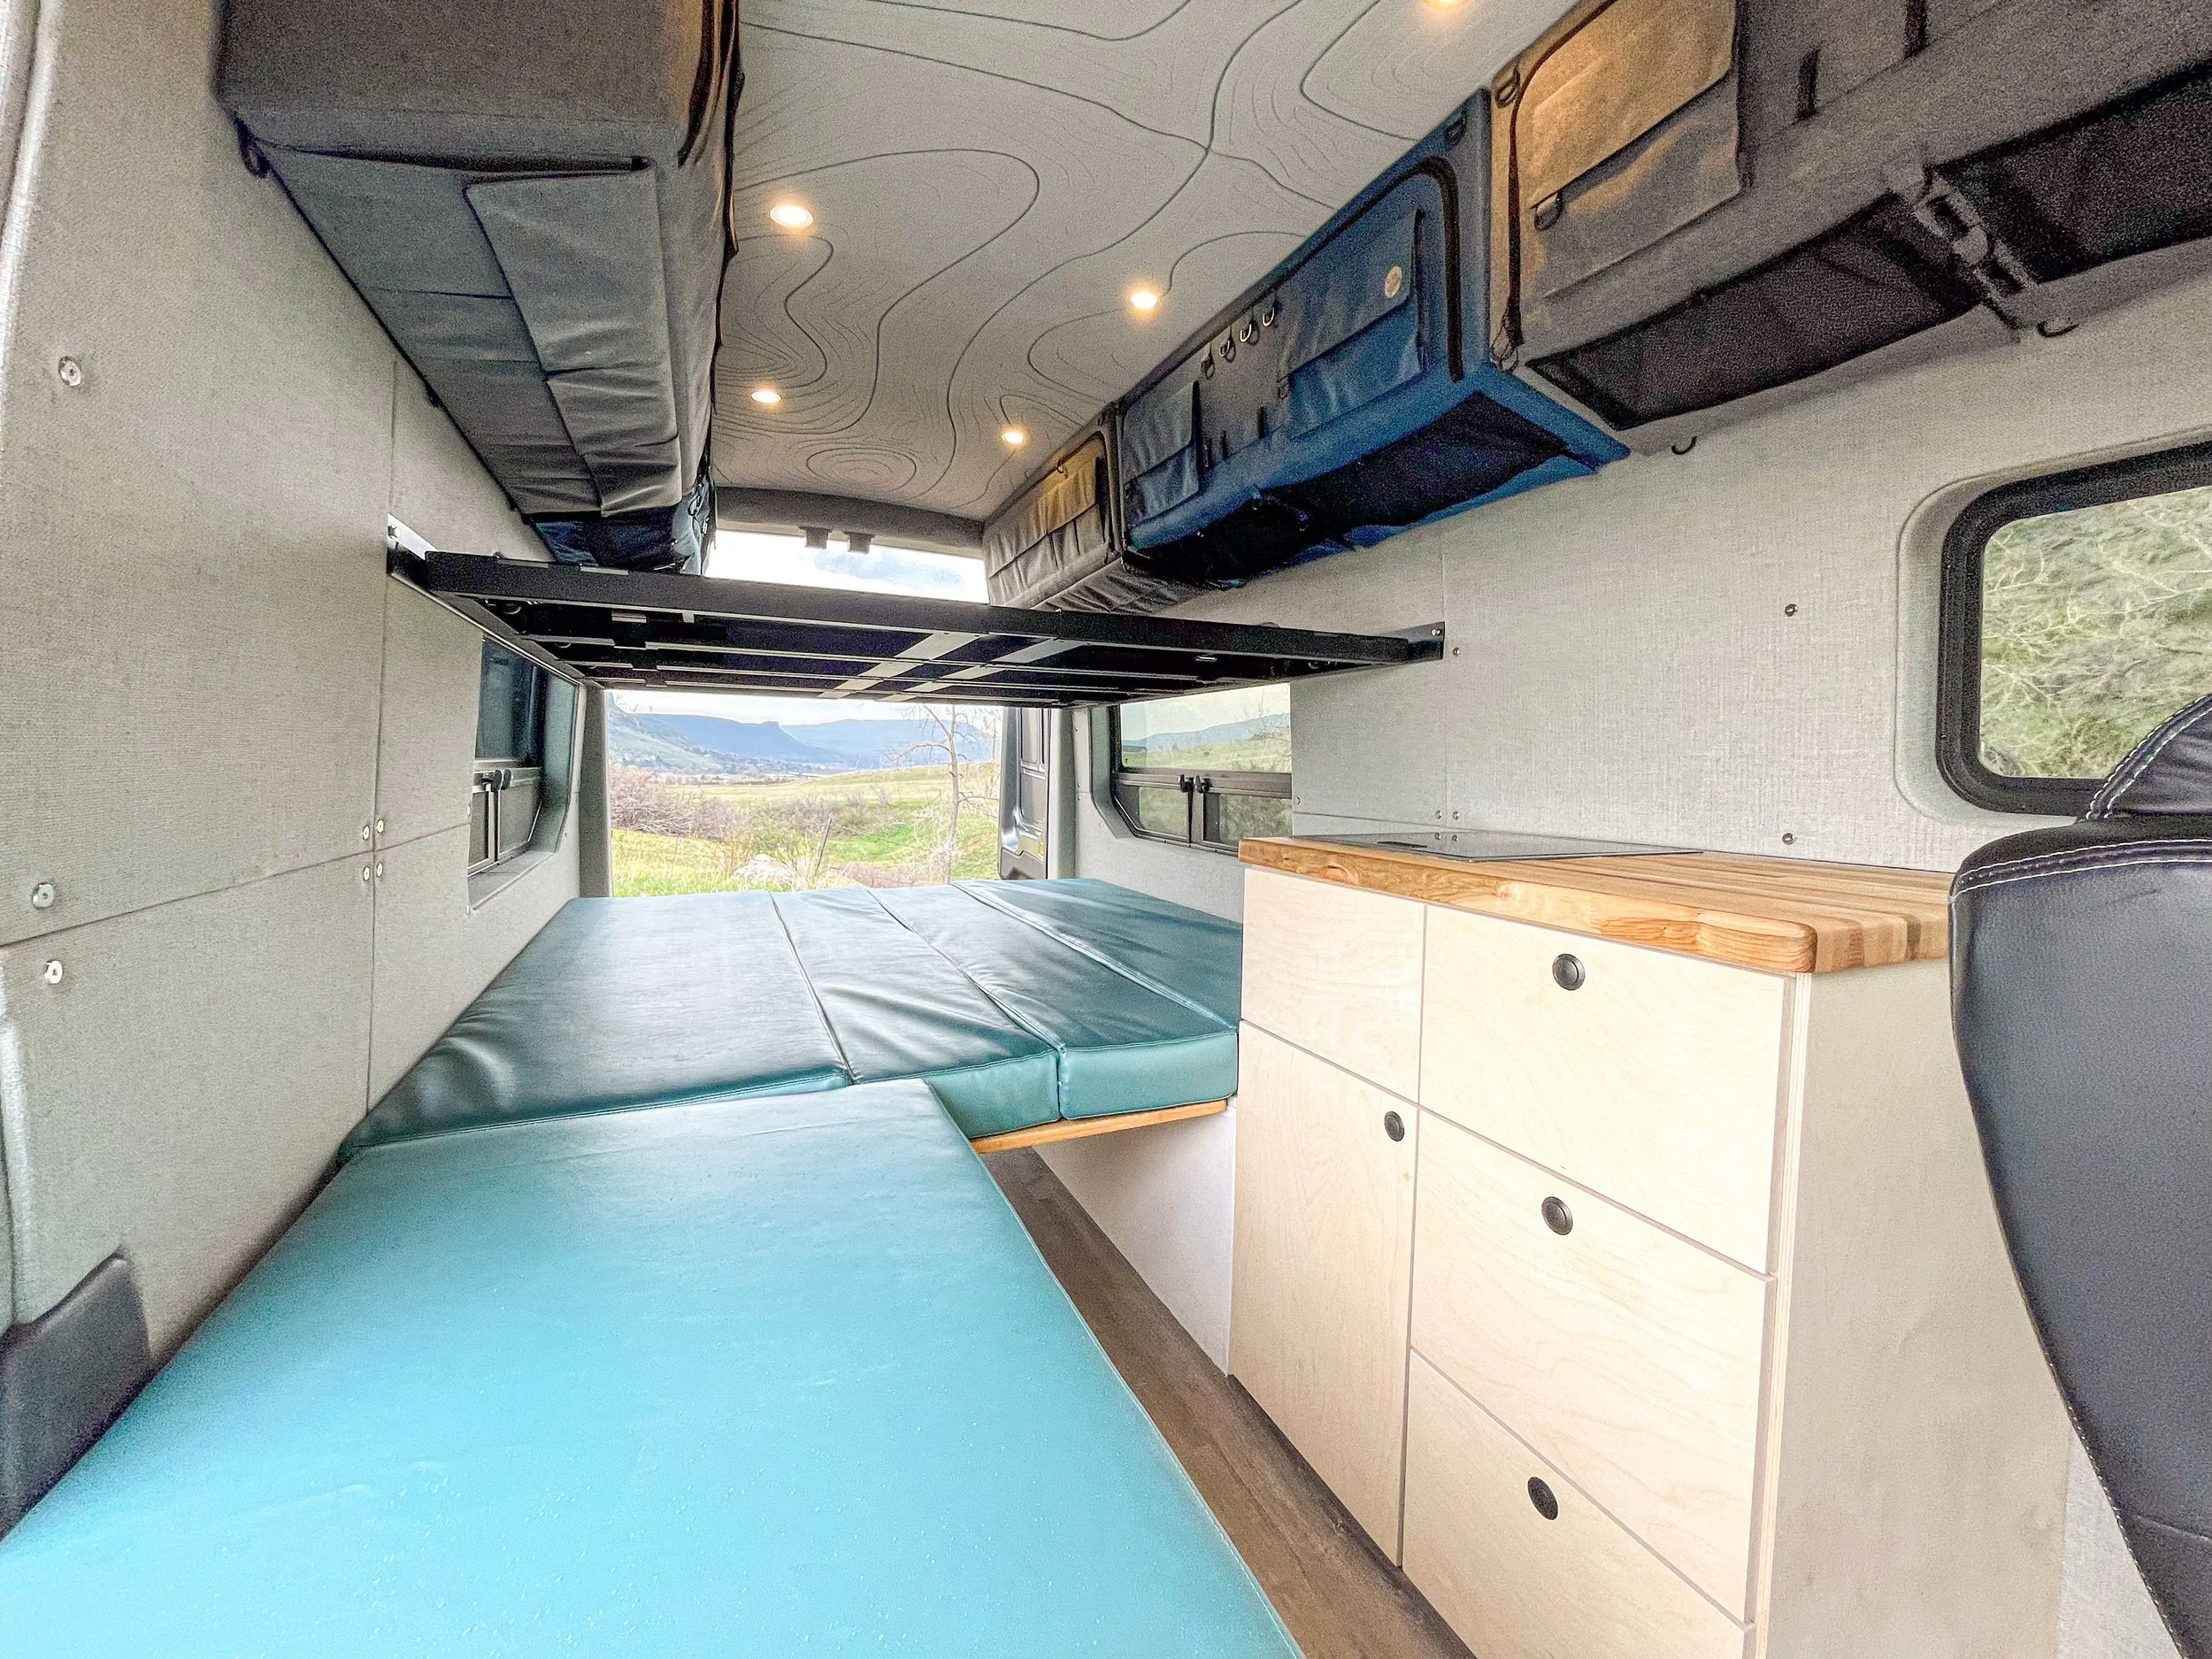
Baltic Birch Plywood - Baltic birch plywood is probably the most commonly used cabinetry material in the industry. It is sturdy, easy to work with, and paintable. While this isn’t our most common material choice, we have made some really cool stuff with Baltic Birch. It’s budget and DIY friendly too.
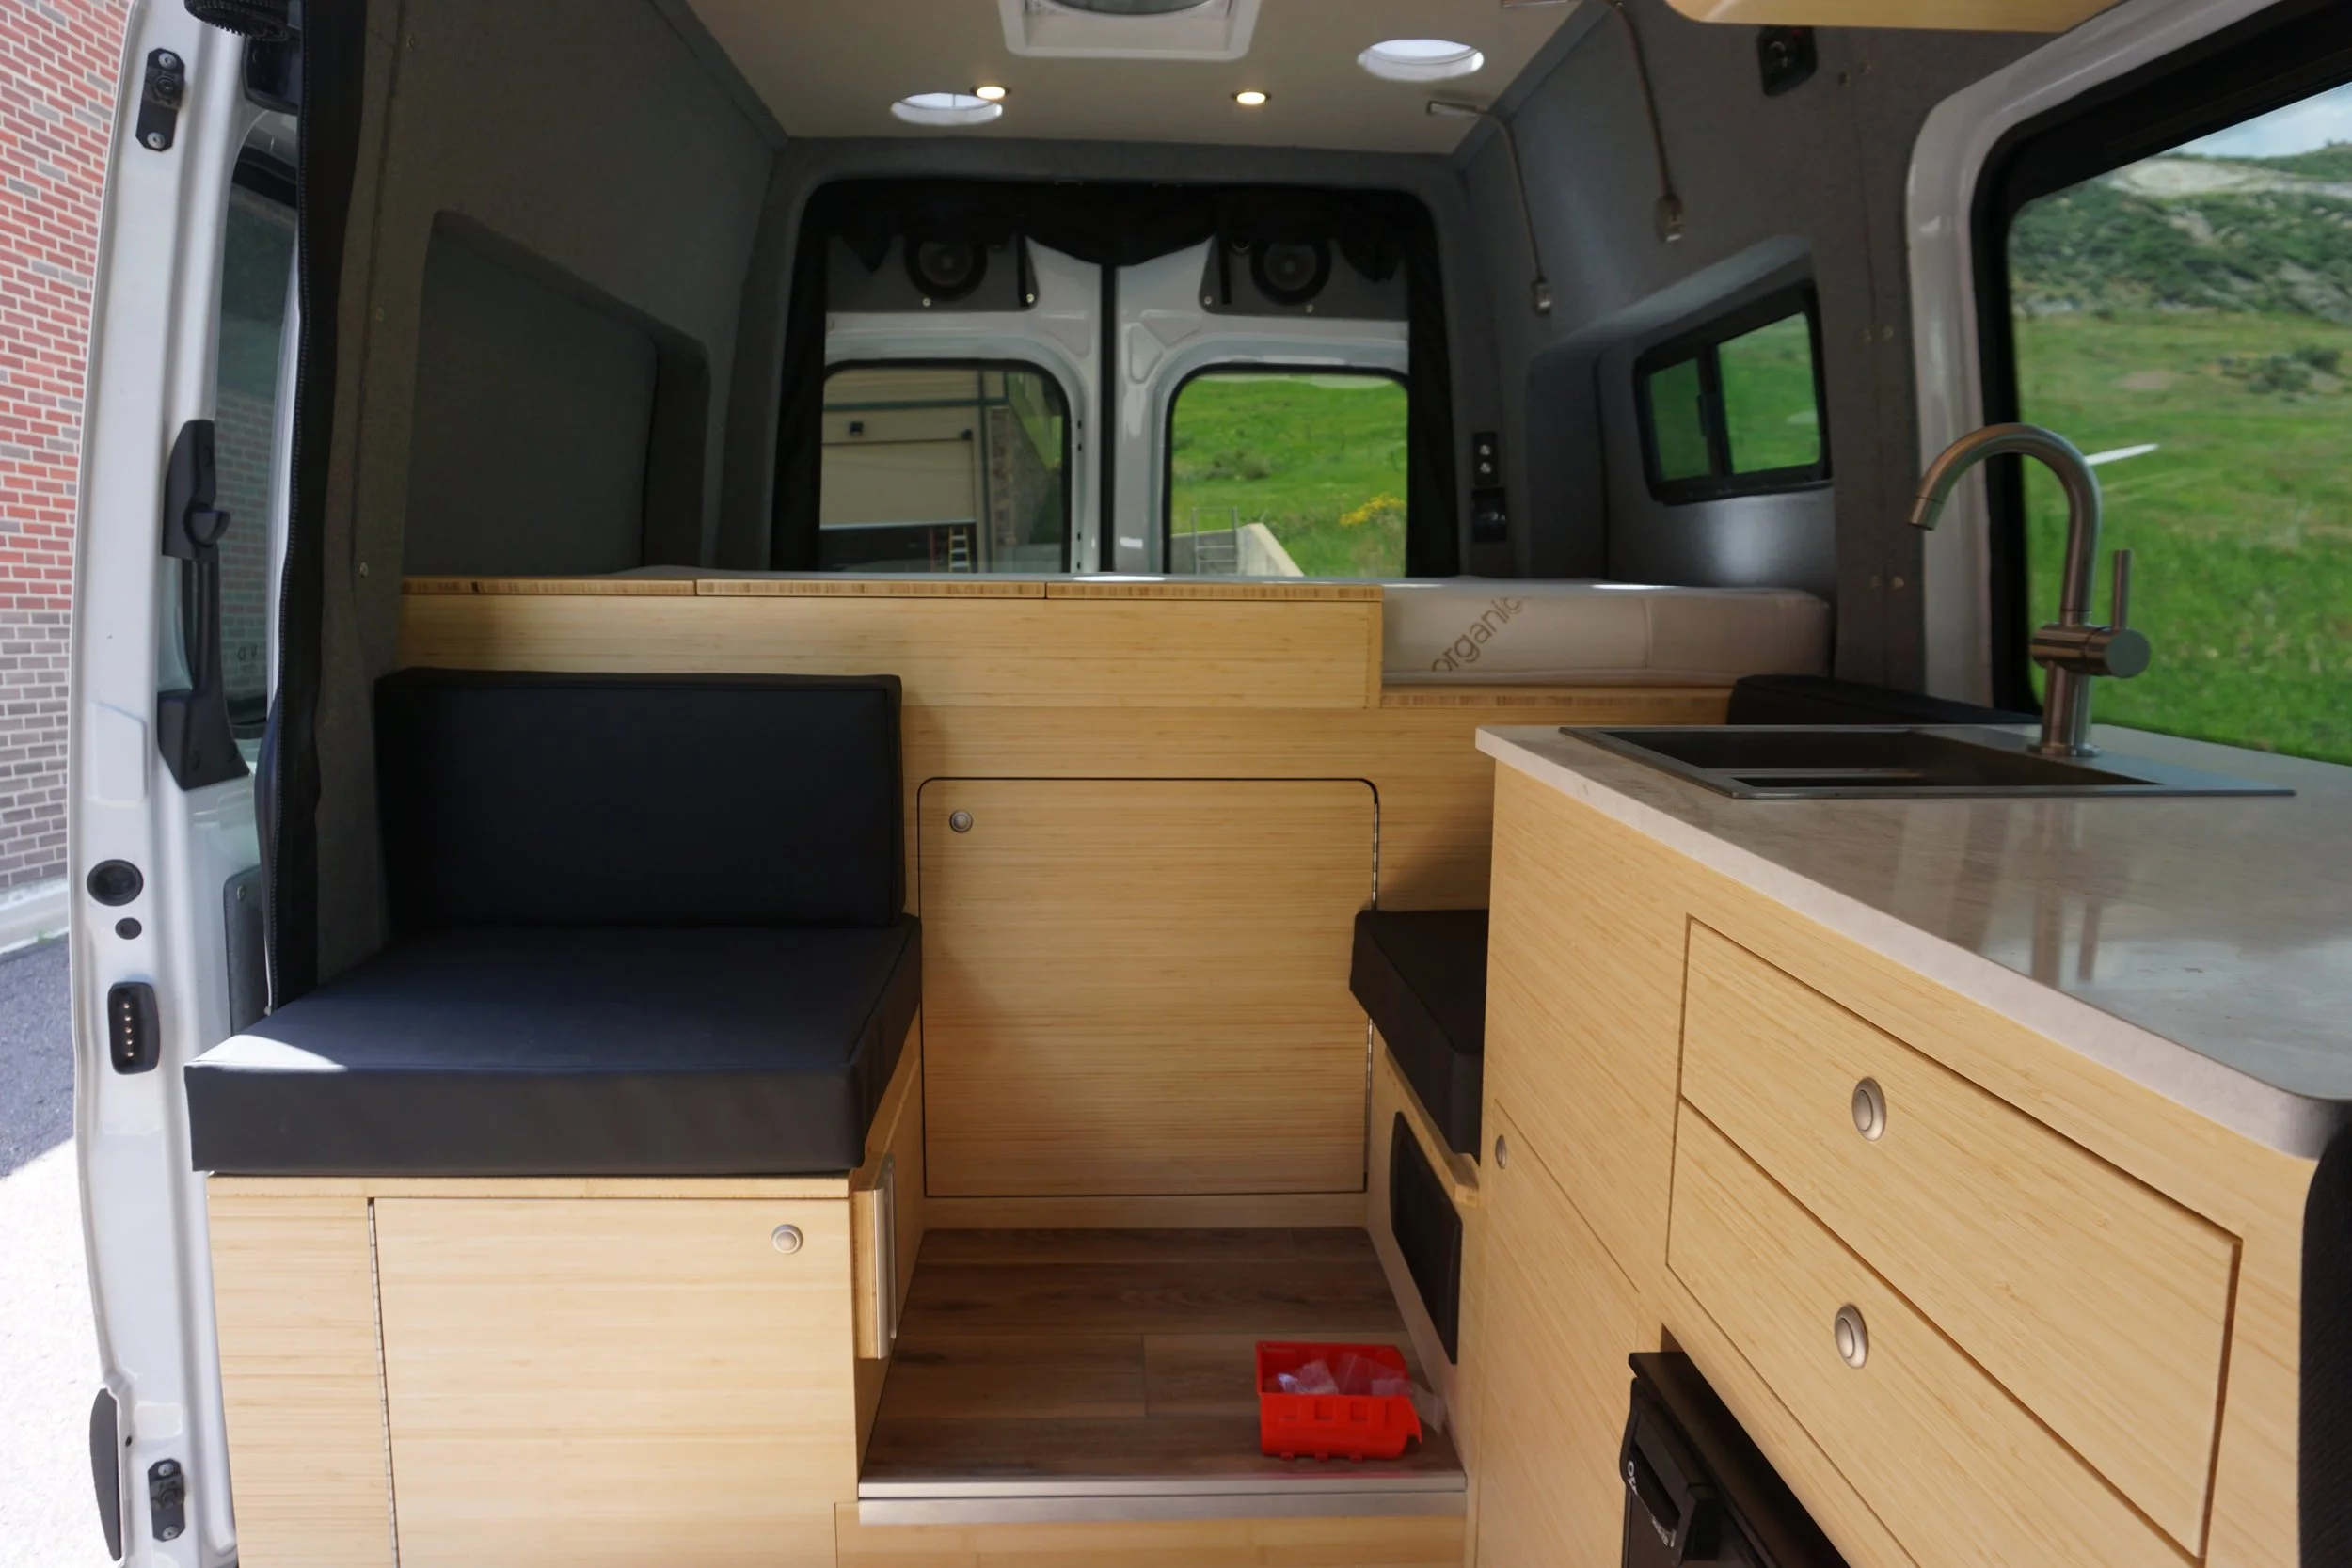
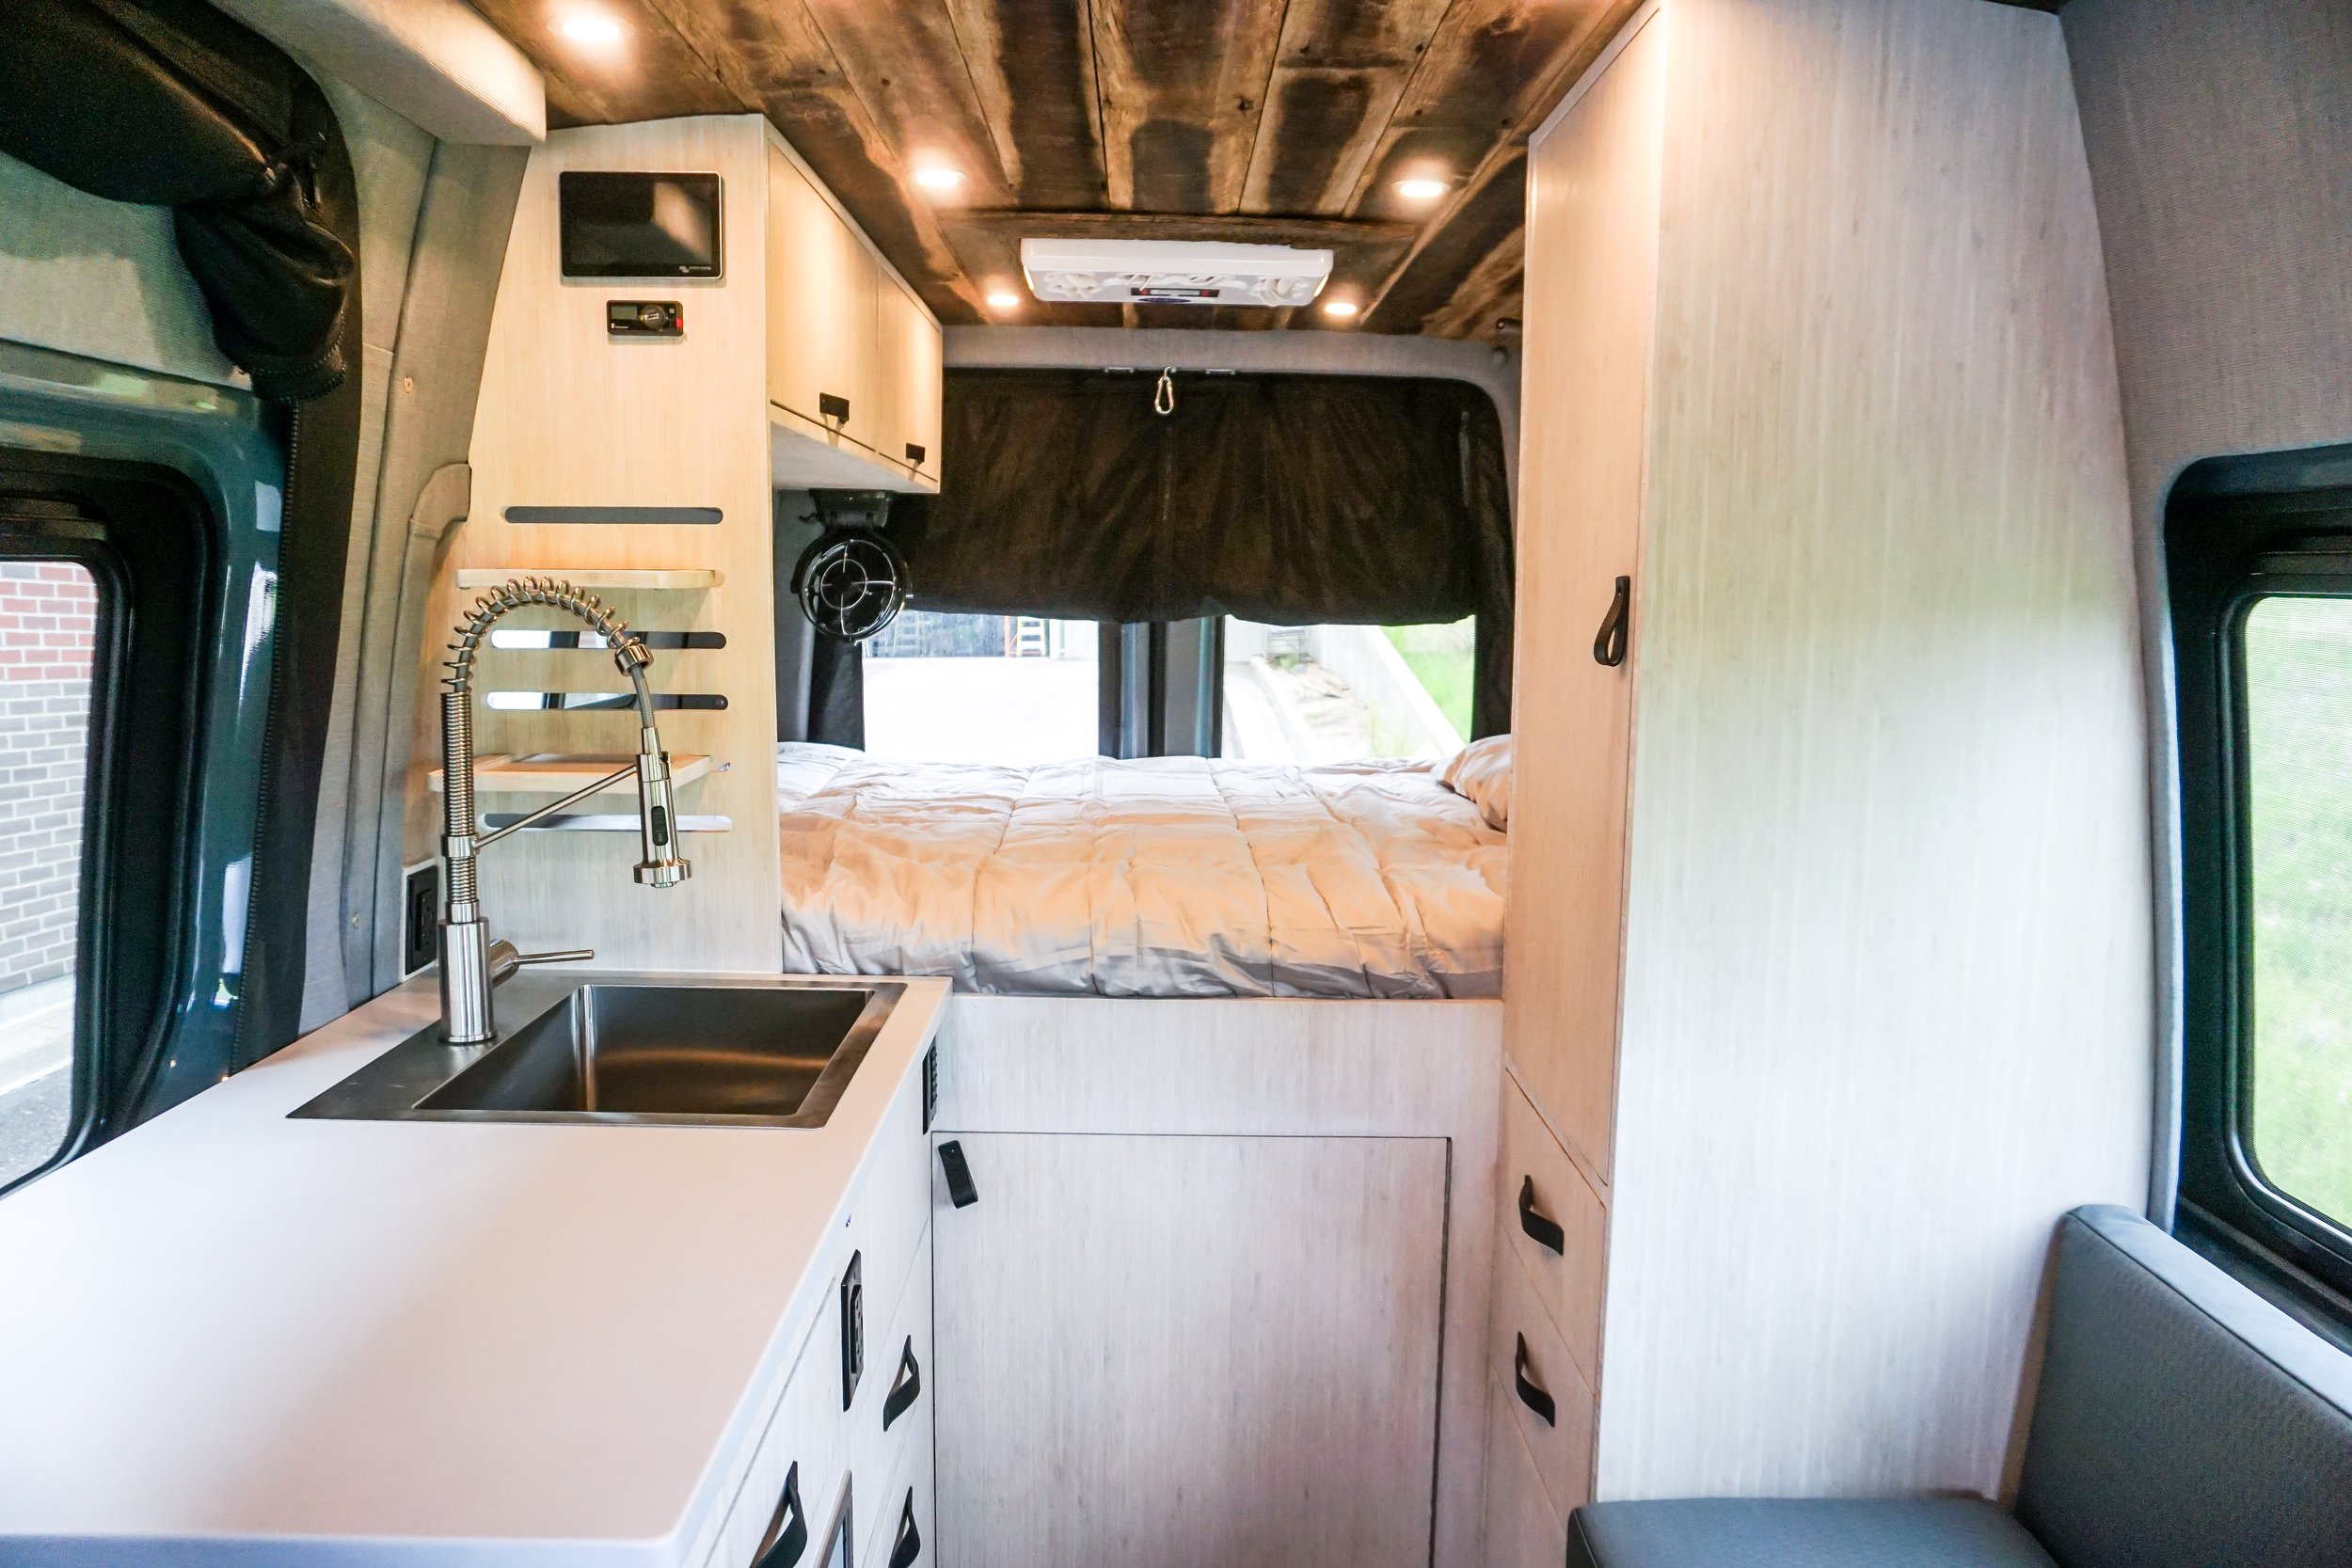

Bamboo Plywood - Bamboo is just a whole different animal. With just a little natural finish, bamboo plywood is a great looking option. We love the finish look of bamboo plywood (both our rental vans (are mainly bamboo) and even the plywood edges are pretty (check out this endgrain detail we made on a 144 Sprinter build)


Cabinet Hardware: Don’t Go Cheap Here
Hardware is the unsung hero of van cabinetry. It’s what keeps everything in place when you hit washboard roads or slam on the brakes. Go cheap, and you’ll be realigning or replacing parts after your first road trip—putting your belongings (and safety) at risk. Few things are more frustrating than being uneasy about the road ahead because you’re worried about gear flying loose.
What Works Well for Us:
Blum Hardware – Undermount drawer glides and hinges (inset and overlay ) that level up our cabinetry game. Easy to install, smooth to operate, and built to last. We can’t recommend Blum enough.
Southco Latches – The pop-out and pull latch are our go-to for keeping doors closed, even on the roughest washboard roads.
Joinery – We use a lot of custom CNC joinery, but for quick, strong butt joints, Kreg jig pocket holes are our choice—paired with quality wood glue. Just make sure your screws don’t poke through the cabinet face!
Miscellaneous Essentials:
Apexstone Gas Struts – Hold cabinet doors open, hands-free.
1/4-20 Wood Inserts – Create stronger wood-to-wood connections than screws alone.
Plastic Drawer Latches – Light, simple, and effective at keeping drawers in place.
Heavy-Duty Drawer Glides – For toilet drawers or heavy truck boxes that need extra load capacity.
2P-10: This stuff is basically super glue with an activator that makes things stick almost instantly. Perfect for quick fixes and keeping things in place in a pinch.
In van life, strong, well-installed hardware isn’t just convenience—it’s peace of mind.
Cabinet Kits
While building custom cabinetry is awesome, sometimes you just want a cabinet fast. These companies have great premade products that can shave countless hours off your build.
Van Essential or Vanwife Components- Simple, cheap, effective. We have two of these in our rental van and they are super convenient. They hang up on (2) L track rings and you can simply lift them up to remove them and bring them into your house to pack up and hit the road.
Flatline Van Co - sleek aluminum design
Adventure Wagon - soft shell cabinets with tons of storage
Serg Supply - premade wooden cabinets for a quality, custom feel.
Trail Kitchens - premade cabinets for all sorts of use cases
Best Practices
Here are some of the best practices for installing van cabinetry safely in your van.
Riv nuts are king. The best connection is a threaded connection. We almost always install our cabinets into the sheet metal of the van’s interior wall. You need one of these tools and riv nuts of your favorite size and thread (we like 1/4-20). Anywhere you can, this is the best option for attaching upper and lower cabinets to your van’s walls (here’s a video of how to do it).
Screws - if you can’t get a riv nut installed or you have solid wood attachment points, wood screws are super strong connectors in a van. Every van we build has a 3/4 marine grade subfloor that is a great base to attach your lower cabinetry to. We often use Kreg Screws or just a simple angle bracket to bring our cabinets flush to the floor and add additional strength. If you have a wood ceiling installed, you can also screw cabinets directly to the ceiling to help tie more elements of the van together and minimize movement. If rivnuts or through bolts aren’t an option, wood screws will hold most things together on the road.
“Alligator bolts” - That’s what we call them, Amazon calls them Wall Anchors this is the weakest option listed here, but sometimes it comes in handy. Most vans and RVs have some sort of 1/4” wall panel. These panels generally don’t hold much weight or hold screws very well. In certain applications an alligator bolt can be used to help reinforce a piece of thin material and distribute pressure behind the panel. (this can be especially helpful in renovations when you don’t know exactly what’s behind a panel or it would be incredibly labor intensive to take it down)